SHOKUPAN FOR BIGINNERS ~REAL-TIME KNEADING~(EP192)


Today, I’m going to be showing Shokupan for beginners.
I have received so many questions about the consistency of the dough.
My original Shokupan recipe contains 72% moisture, that is more amount than regular white bread recipe.
Well, that’s the beauty of my Shokupan recipe, the more moisture in your bread, the more fluffy the bread.
But it is not that easy to knead, for beginners.
I reduced moisture in 65%, which I believe easy to handle, and still maintaining the signature texture of Shokupan, fluffy and moist.
The ingredients are so simple, get your ingredients ready and we can make the shokupan together!
I will walk you through how to knead wet dough from start to finish in the video, so check it out!
Do not set the temperature no more than 30℃ at the first rise.
In my experience, the temperature of first rise should no higher than 35℃.
The higher temperature activate the yeast at the early stages of the proofing, is not making a good bread.
It’s more likely to end up “short” bread, not “tall.”
What you want to do is activate the yeast slowly and gently, to make the most of the power of expanding in the OVEN.

Shokupan for biginners
Equipment
- oven
- bowl
- 19×10×10 Shokupan mold (1800ml)
Ingredients
- 250 g Bread Flour (13% protein)
- 12 g sugar
- 5 g salt
- 4 g instant dry yeast ※active dry yeast can be replaced
- 160 ml lukewarm water
- 15 g unsalted butter
Instructions
- In a large bowl of your bread flour, add in salt and sugar.Stir to combine. Add in instant dry yeast.Yeast shouldn't be direct contact with salt and sugar, because they might de-activate the yeast.Pour in lukewarm water in 3 to 4 stages. I don't want you to add water all at once, because it's going to take much more time to mix everything nice and even.Continue mixing, and all the ingredients form a dough, cover and let sit for 10 mins.
- After 10 mins, take out onto your working surface.And start kneading by pushing forward and pull it back.Knead 5 to 6 minutes; the dough stretches like paper-thin, almost see through, it's time to add butter.
- Spread the dough and put the room temperature butter on it.By adding the butter, the dough falls apart, but it comes together soon.Start kneading again for 2 to 3 minutes, until the until the dough comes back together.
- The dough becomes more elastic and shiny, and smells so good.To check the dough is ready or not, let's take a stretch test.It looks good, shape into a ball by tucking the dough to make a nice round ball. Put it in a greased air tight container, stretched side up. Let it rise for 30 to 35 mins or until almost double in size at 30 ℃ for the first rise.
- After 30 mins, the dough should look like this.Almost double in volume, and smells yeasty.Panch the dough and shape into a ball again, and let it rise for 25 to 30 more mins.What this does is, provide fresh air into the dough, and activate the yeast even more, and the yeast releases more carbon dioxide, which makes airy and fluffy bread.After 25 mins, my dough doubles in volume, again.
- Poke with your dusted finger, and the hall you have just made is not shrink back, it's OK to proceed.Take out onto your dusted working surface, and cut into 2.Today, it weighs 220g each dough.Shape into a nice round ball, and let them rest for 10 mins.This step is called bench rest, it relaxes the dough before the final shaping.While bench resting, grease the mold.
- After 10 mins, the dough is relaxed and puffs up a little.Take one dough and place the seam side up.Roll it out with your finger, then shape into a ball. Pinch to seal.Repeat the process to the other dough.Put it in the mold, cover with plastic and let them rise for 40 to 45 mins at 30 ℃.
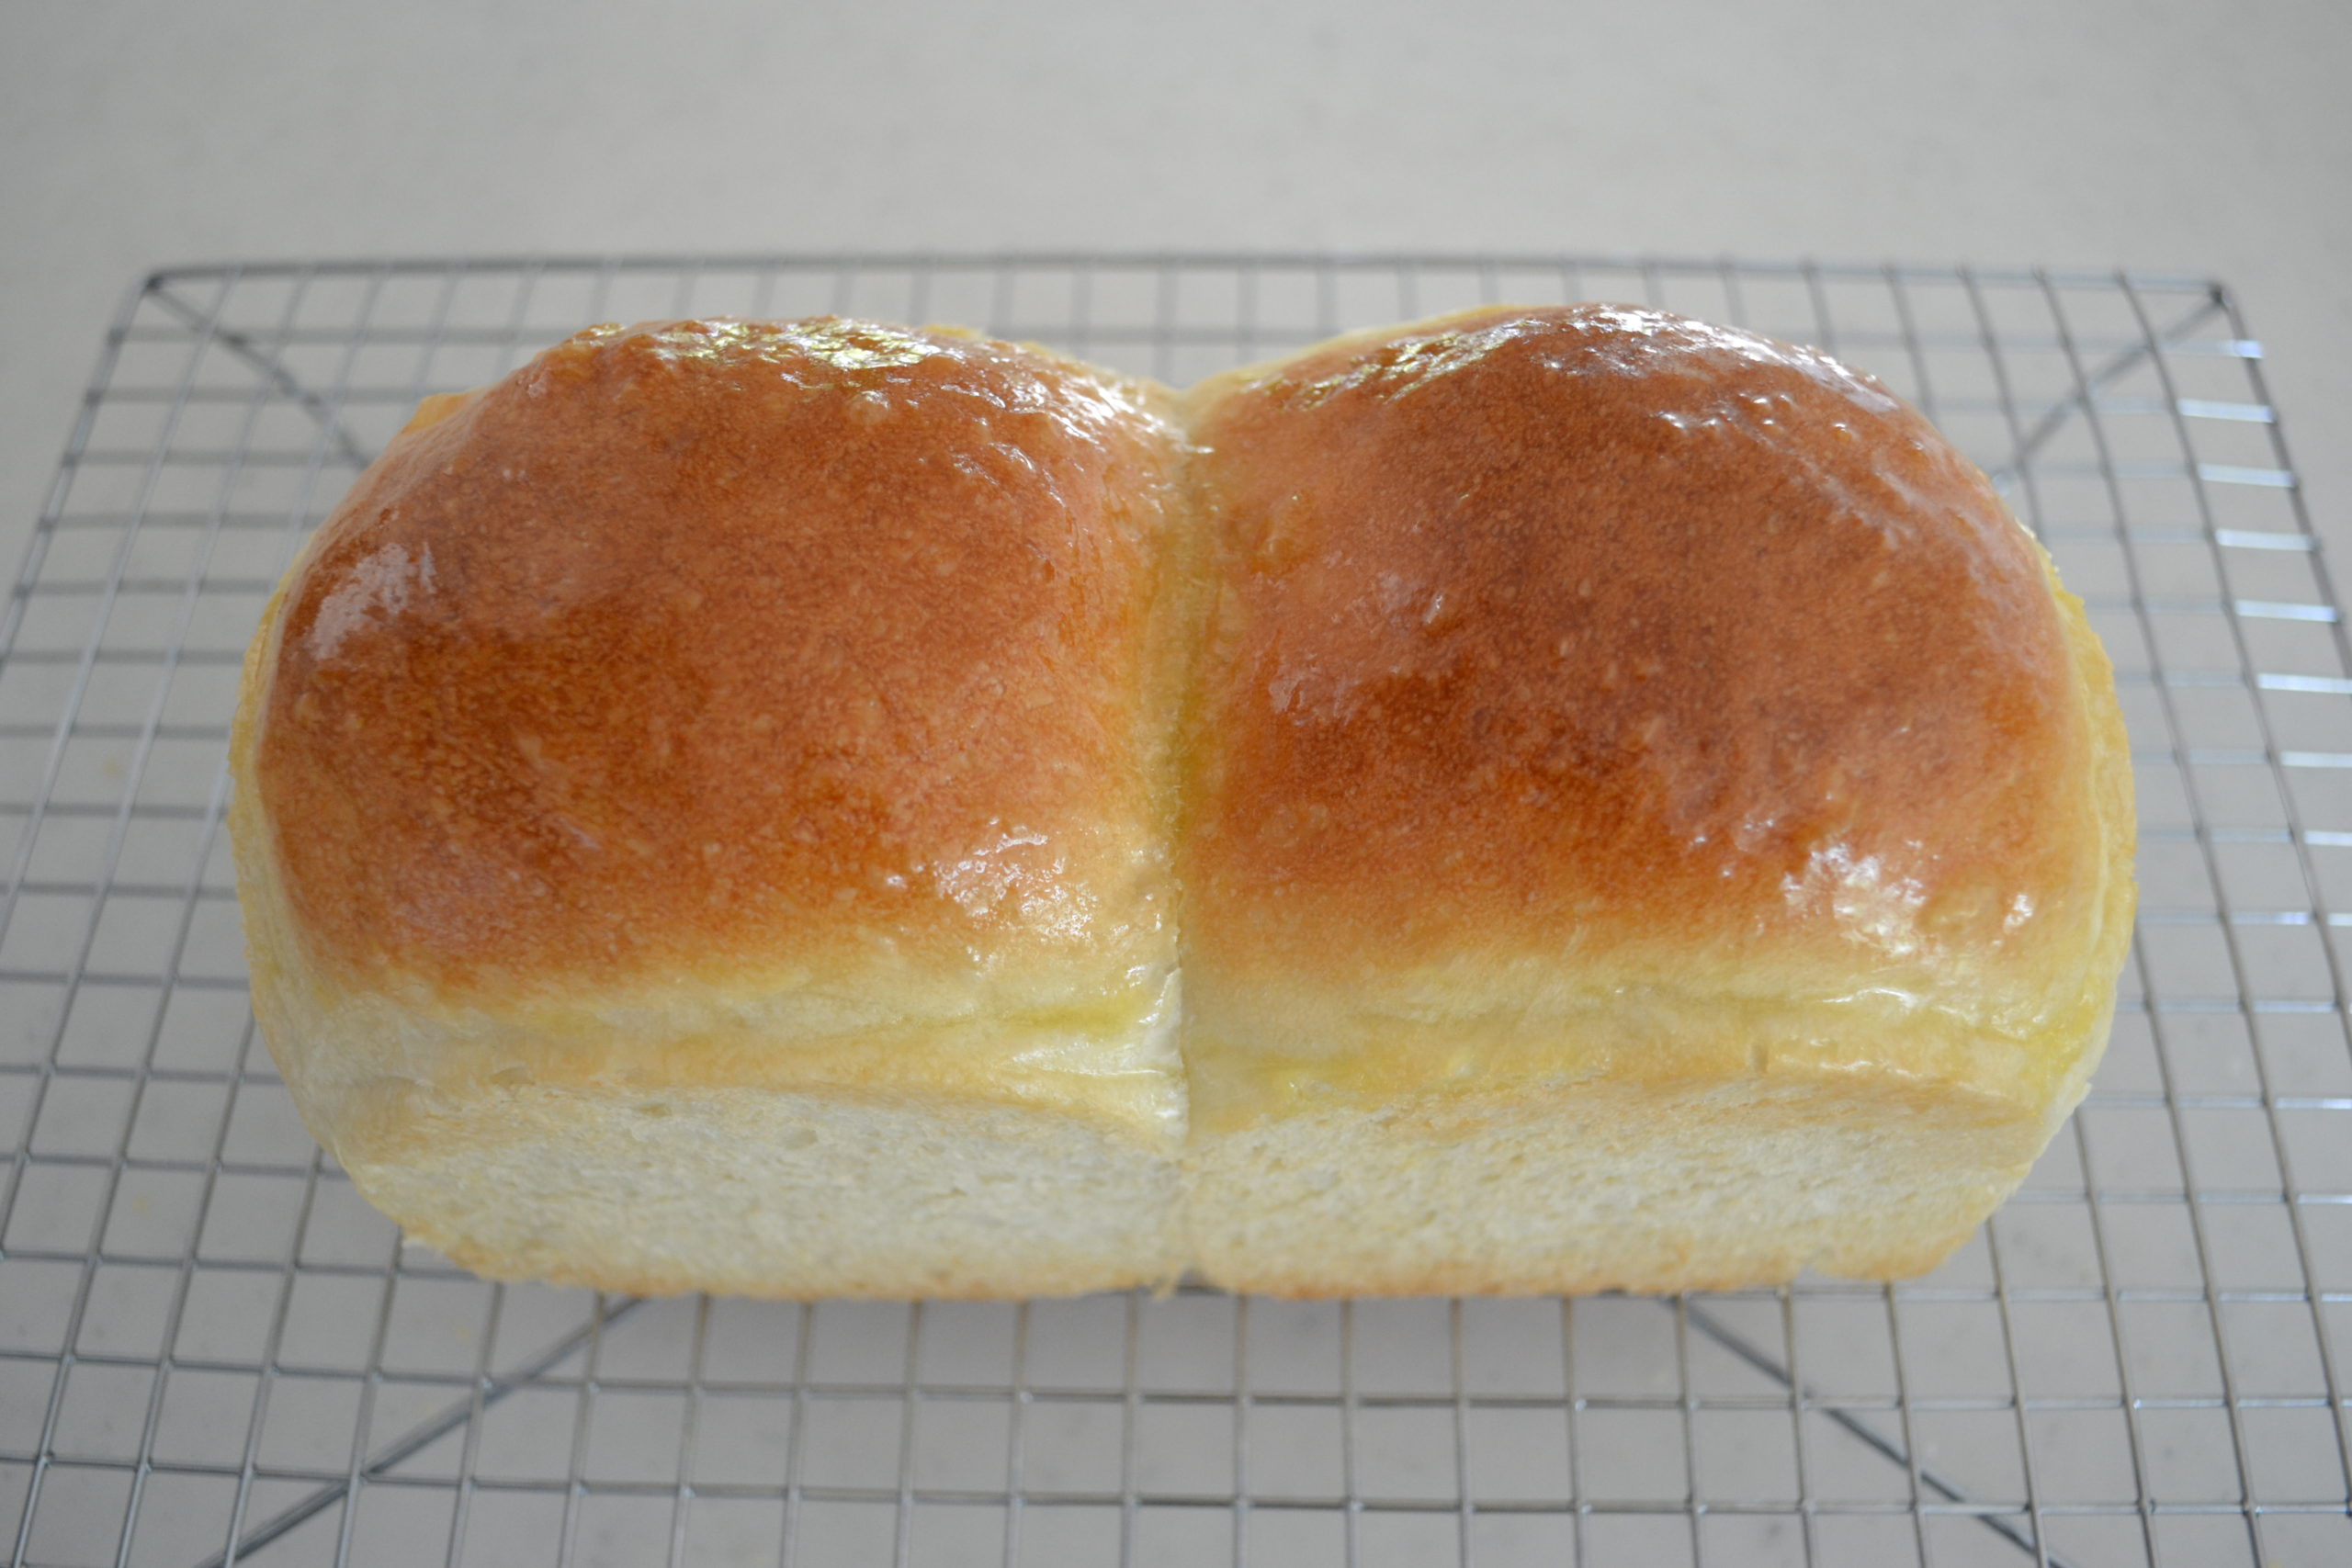
- We are going to bake as mountain shape Shokupan, let it rise until the dough rises 1 cm over the edge.Today, I took "cold start method," start baking at 100℃, then set the oven to 200℃, bake it 40 mins in total.Rotate the mold halfway through and cover with aluminum foil if your bread starts browning.
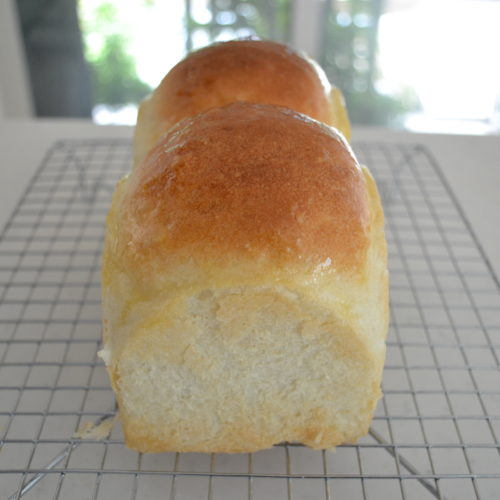
- Take out the mold and tap it onto a counter top to remove hot air inside, to prevent from shrinking. Then, take out onto a wire lack.Let it cool to room temperature before cutting.
