HOW TO MAKE CASTELLA | Super Delicious Rich and moist Japanese Sponge Cake (EP 279)
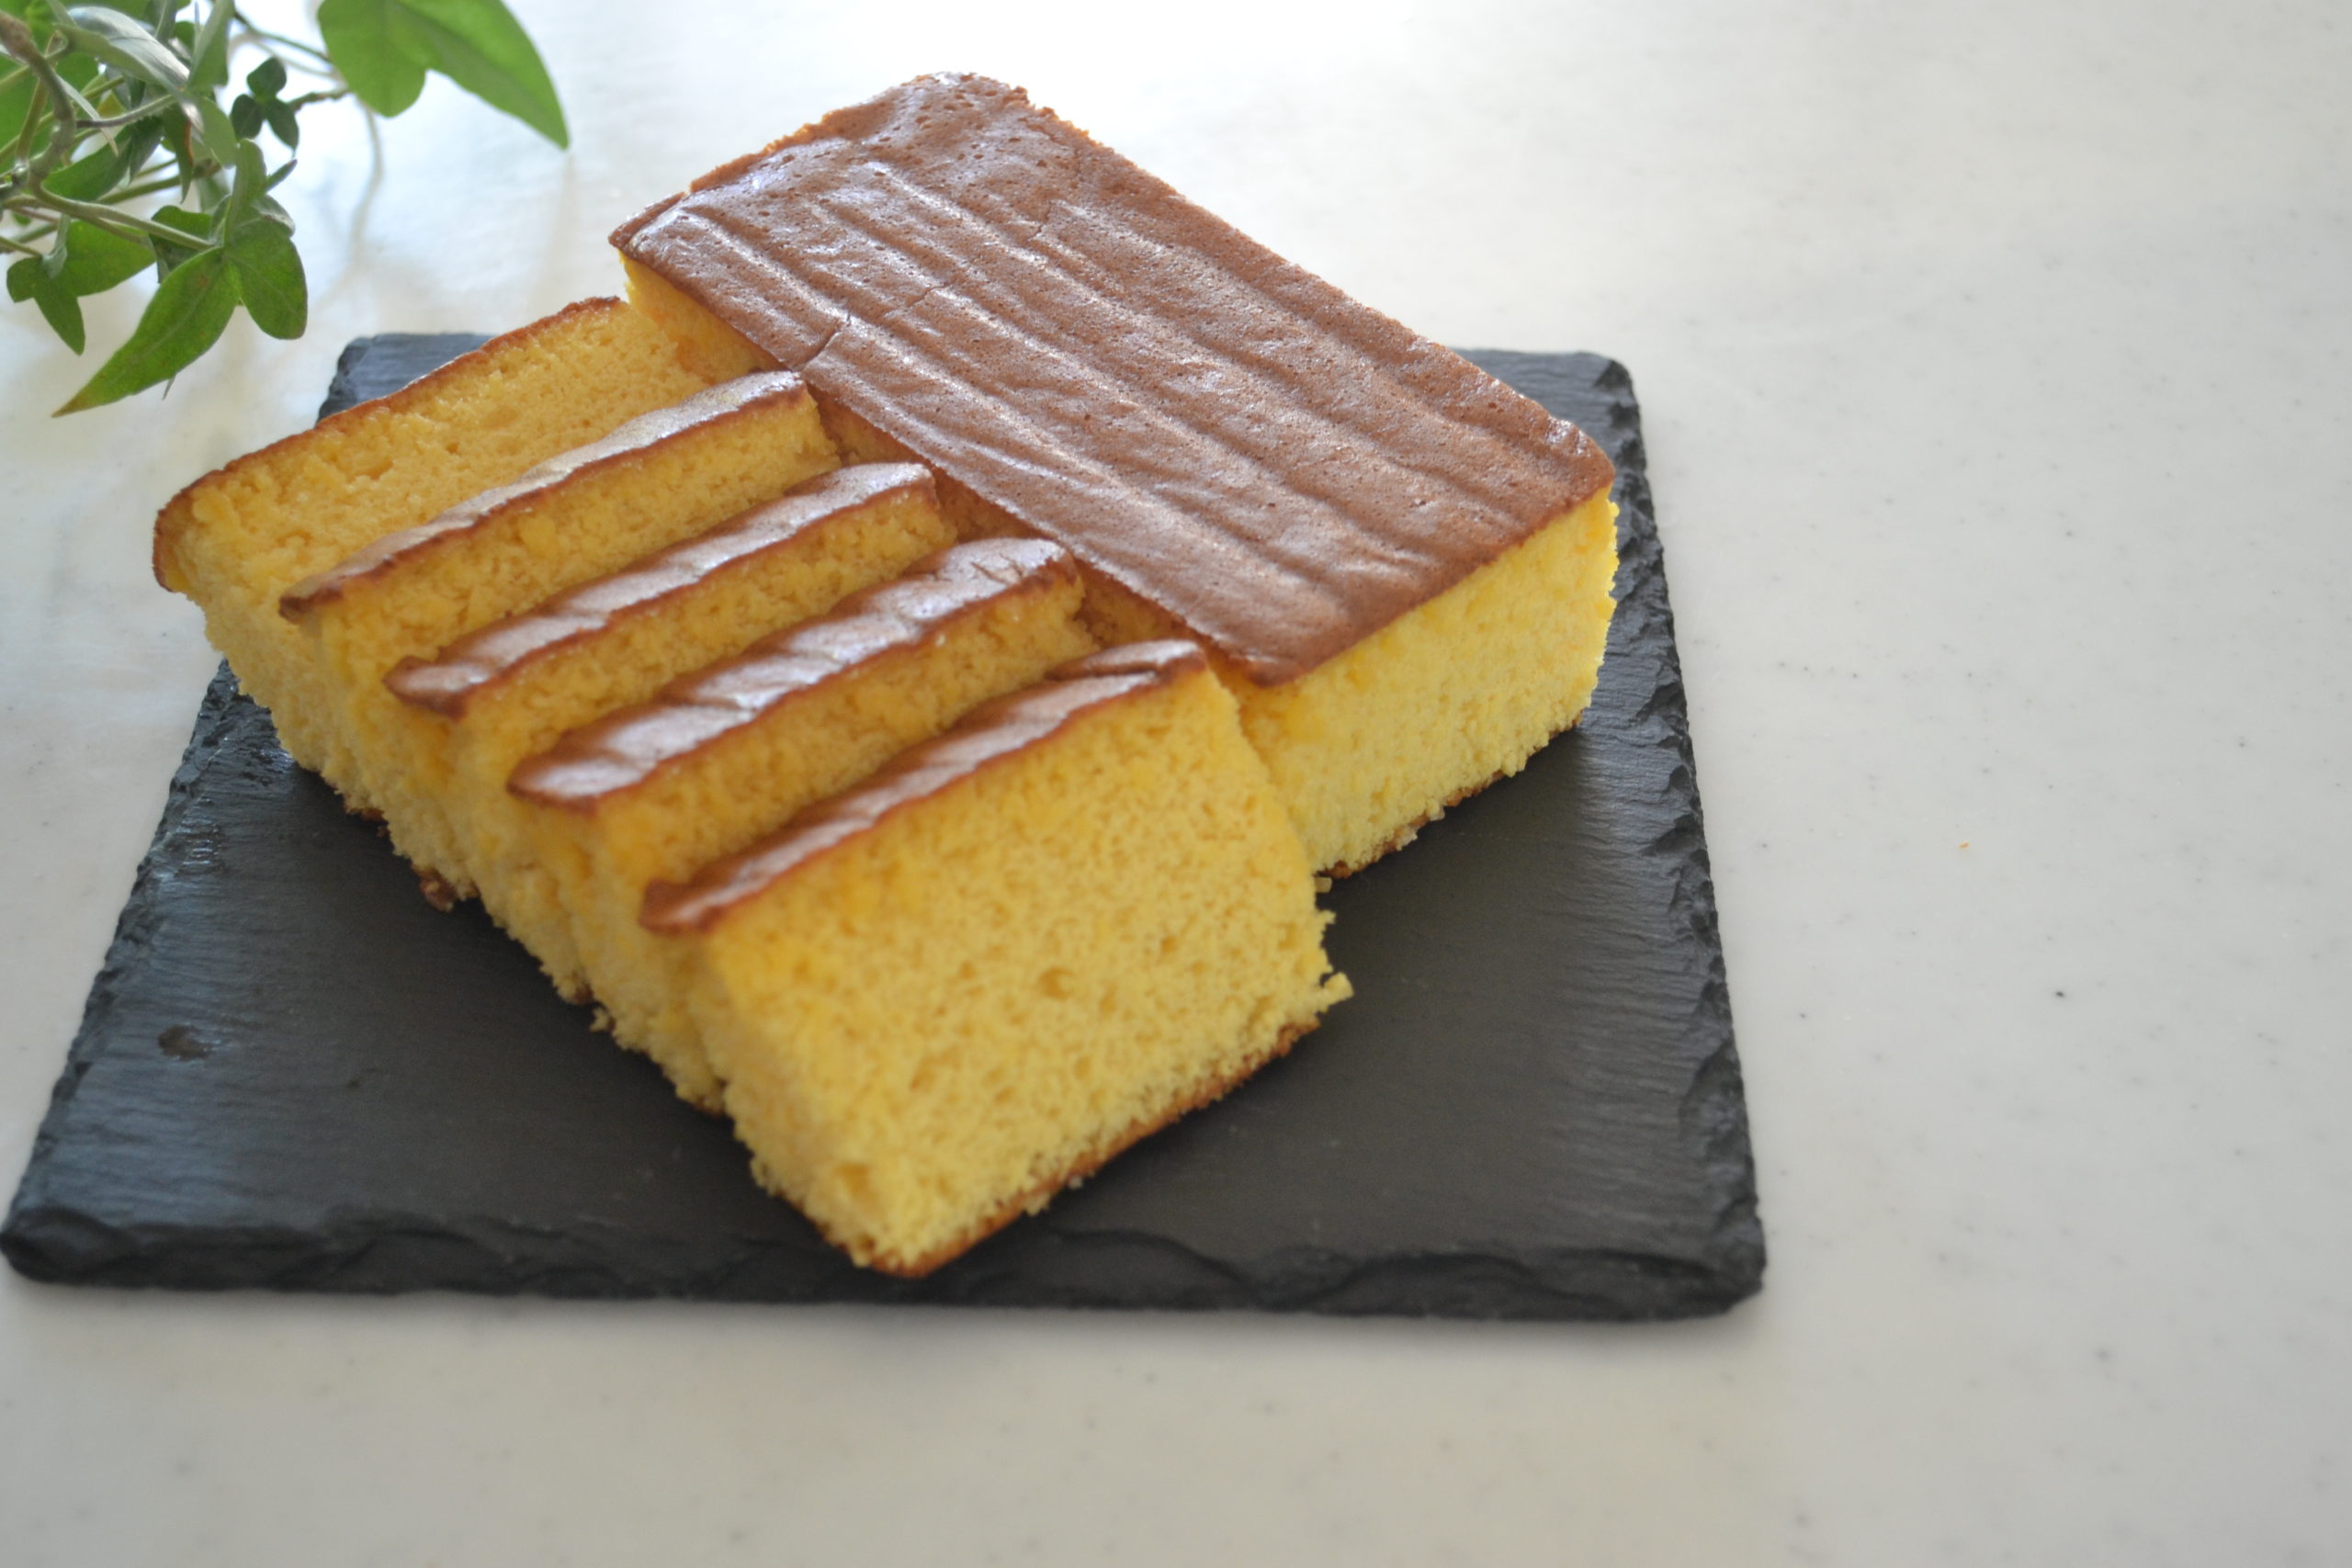
Castella is a Japanese rich sponge cake.
Today I want to share with you the Japanese CASTELLA.
CASTELLA is a popular Japanese sponge cake, very sweet yet still delicious.
It’s a sponge cake but the texture is finer than the traditional sponge cake that we use for strawberry shortcake.
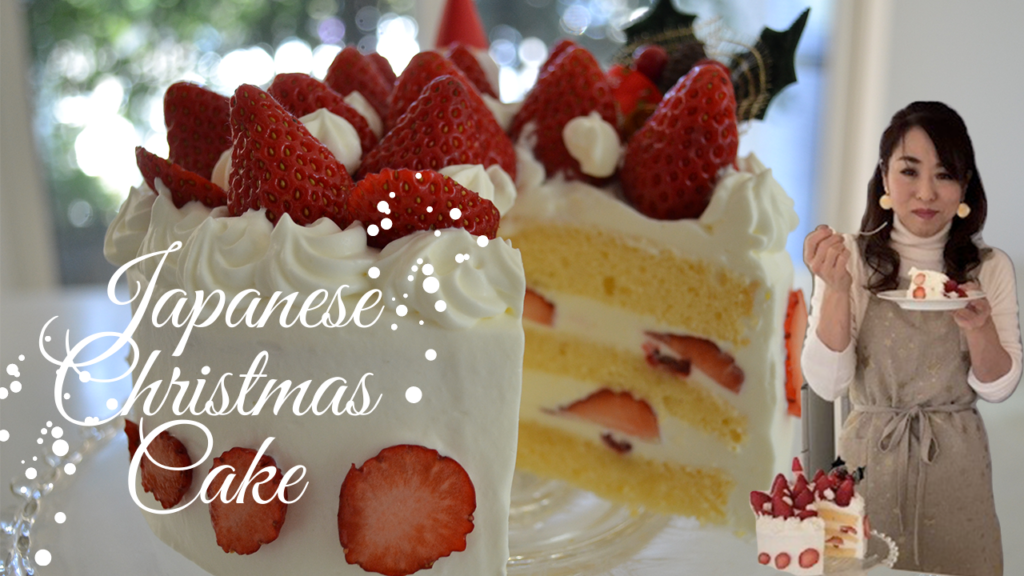
It’s lighter than a pound cake but more compact than a sponge cake.
The key to creating that signature texture is “Awa-kiri,” while baking.
What is “Awa-Kiri”?
“Awa” means foam.
Kiri” means Cut or Vanish.
“Awa-Kiri” means Vanishing the foam inside the batter.
After two minutes of baking, give it the first “Awa-Kiri.”
Take out the cake and spray water to give a moisture. Use your wooden skewers and stick into the cake.
Draw circles all over the cake.
What we are doing is even out the foam inside the butter and the heat will circulate inside the batter to cook through.
Cook another two minutes.
Repeat three more times and we do “Awa-Kiri” 4 times in total.
By doing the “Aka-Kiri,” CASTELLA has more finer and compact texture.
How CASTELLLA become Wagashi (Japanese sweets)
CASTELLA is introduced to Japan by Portuguese missionaries in the 16th Century, and now a specialty of the Nagasaki prefecture.
When the missionaries first introduced the cake, they may have said, “This is a cake from Castile※.” The Japanese locals must have confused this town’s name as that of the cake name.
※Castile, the historical region of Spain. But the country do not have any cake named CASTELLA. Lol.
So it has a history of more than 400 years.
It was made of flour, sugar, and eggs without butter or any fat.
These ingredients are simple and rather easy to access. That’s one of the reason the CASTELLA became popular. And sugar and egg are considered nutritious and very much appreciated as a booster for some kind of disease at that time.
But the main reason is that it tastes DELICIOUS!
Wooden CASTELLA MOLD
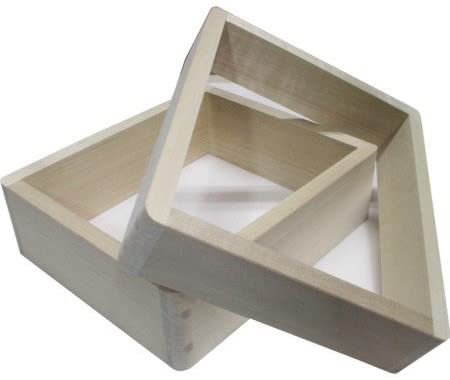
Traditionally, we use the wooden mold for CASTELLA cake.
You can buy one but it’s expensive for a once or twice a year baking project.
Let us prepare the mold we already have.
We need a deep square mold to bake CASTELLA, but what I got is an ordinary 20 x 20 cm square mold.
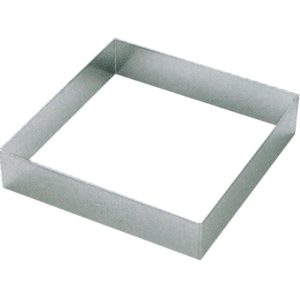
This is a little bit short, so I stack two molds.

Wrap around a piece of aluminum foil to put them together.
If you have a milk package or cardboard, fold and fit inside a mold to make it tall.
I used to make a wooden mold by myself when I run my pastry shop.
If you really like Castella and you will bake the cake quite often, I recommend buying square wooden mold.
Place a folded paper to make it thick at the bottom to prevent scorching.
Then line parchment paper to fit in.
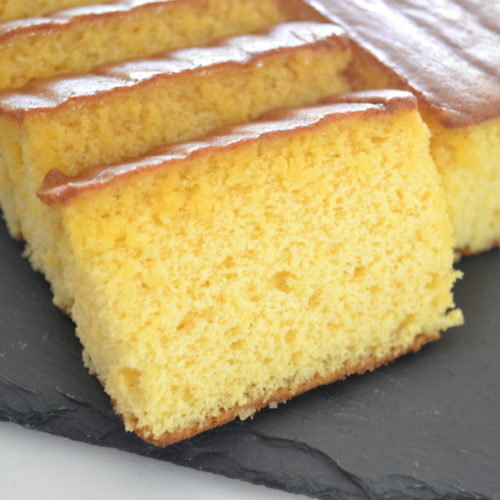
CASTELLA
Equipment
- bowl, 20×20 mold, oven, hand mixer, stand mixer (optional)
Ingredients
syrup
- 40 g rice syrup or corn syrup
- 30 g honey
- 40 g water
Cake batter
- 6 egg yolks
- 100 g sugar
- 100 g cake flour
- 80 g surup
Meringue
- 3 egg whites
- 100 g sugar
Instructions
- Preheat the oven for 180℃ (356℉).
Syrup
- Pour in rice syrup in a heavy-bottomed pot.You can use corn syrup instead.Pour in honey and water.Cook on medium heat and bring it to a boil.We use 80 g of syrup. Set aside until used.※The syrup keeps the moisture in the sponge cake.
Cake Batter
- Whisk egg yolks and sugar.Whisk on high speed until it gets foamy and pale in color.After a couple of minutes, your egg yolks is fluffy and almost double in volume.Add in syrup and mix well.
Meringue
- To make a meringue, start whisking on low to loosen up the firm egg white.Keep the mixer running until the egg white gets foamy.Add in sugar in three stages.Whisk on low until all the sugar dissolves.The meringue looks shiny when the sugar dissolved. Repeat the process.When all the sugar mixed in and dissolved, turn the mixer on medium, and keep the mixer running until soft peaks form.
Assemble and Bake
- Add a scoop of the meringue into the egg yolk mixture.Fold in until no streaks of meringue to be seen.Sift in the half of the flour into the egg mixture, and fold in until no flour to be seen.Add the half of the rest of the meringue into the egg yolk mixture.Fold in until no streaks of the meringue to be seen.Alternating the flour and meringue when you mix the batter, you can combine the batter more effectively.Scoop the batter from the bottom to the top to ensure no lumps of the flour remain.
- pour the batter into the prepared mold.Sprinkle the "Zarame" sanding sugar at the bottom of the mold.Some people don't like the sugar at the bottom, but the famous Japanese Castella has it as their signature finishing.
- Pop it in the oven.After two minutes of baking, let's give it the first "Awa-Kiri."Take out the cake and spray water to give a moisture. Use your wooden skewers and stick into the cake.Draw circles like all over the cake as if vanishing the foam.Take out and spray the water to give it the moisture and repeat the "Awa-Kiri" process.Repeat two more times and we do it 4 times in total.
- Reduce the heat to 160℃, bake 30 to 40 minutes until the surface is golden brown. When you touch the center of the cake and it bounces back, it's OK to go.If you are not sure if it is cooked or not, insert a wooden skewer from the side to the center, and no undercooked batter is not sticking to the skewer, it's done.
- Takeout from the oven, and peel off the side of the paper.Just peel off 1 cm from the top and leave the other part as it is.By doing this, you can keep the Castella cake upright and tall.To even out the thickness of the cake, put it upside down on a wire rack.To keep the beautiful surface, brush flavorless vegetable oil onto a parchment paper and put it on the right on top of the cake.This will prevent sticking to the paper.
- Place upside down and cover it with a plastic wrap while still hot to keep the moisture inside. Leave it until it cools the room temperature.When it comes to room temperature, wrap it up in plastic wrap and leave it for a day.
- The next day, cut into the desired size, but Castella cake always comes in a rectangle shape.Cut off the side with your greased knife.Wipe off the knife in each cut to make a clean cut.
