
How to make ★Homemade MISO★from scratch!~みその作り方~(EP79)
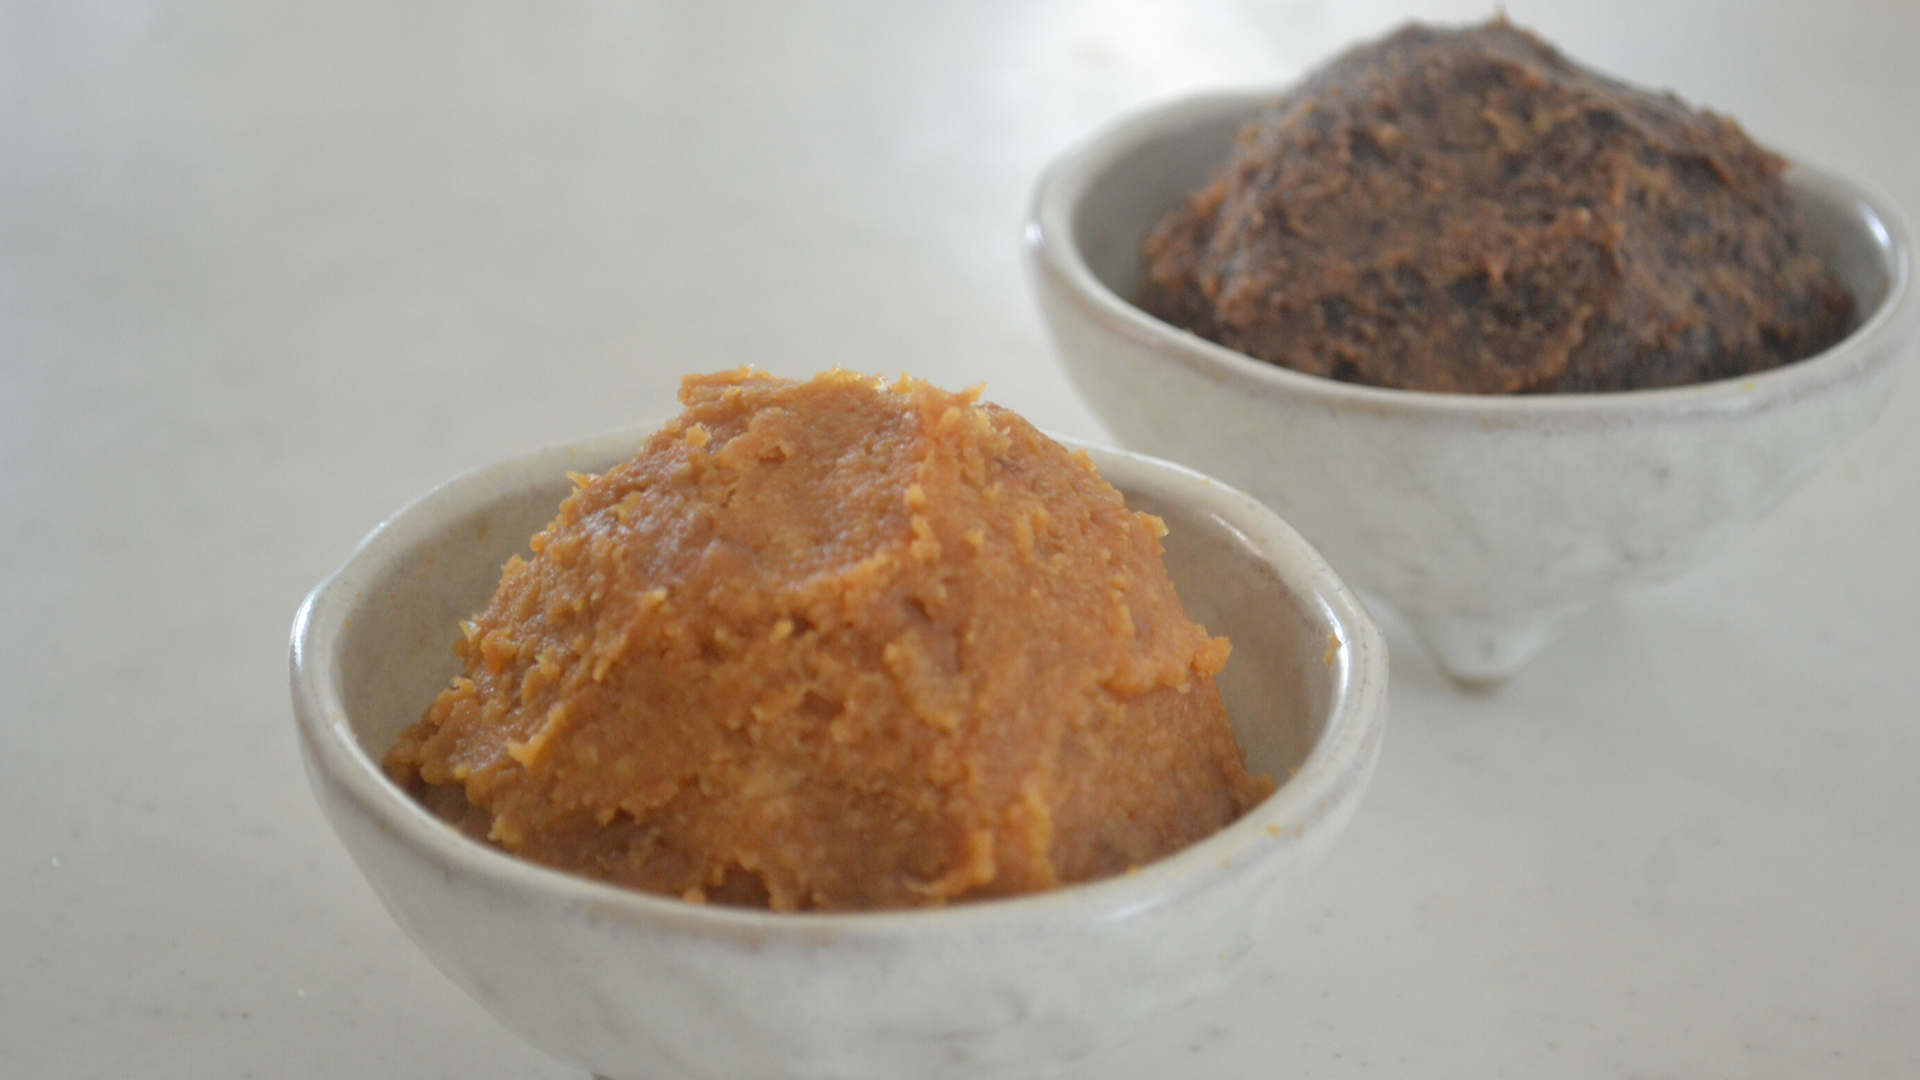
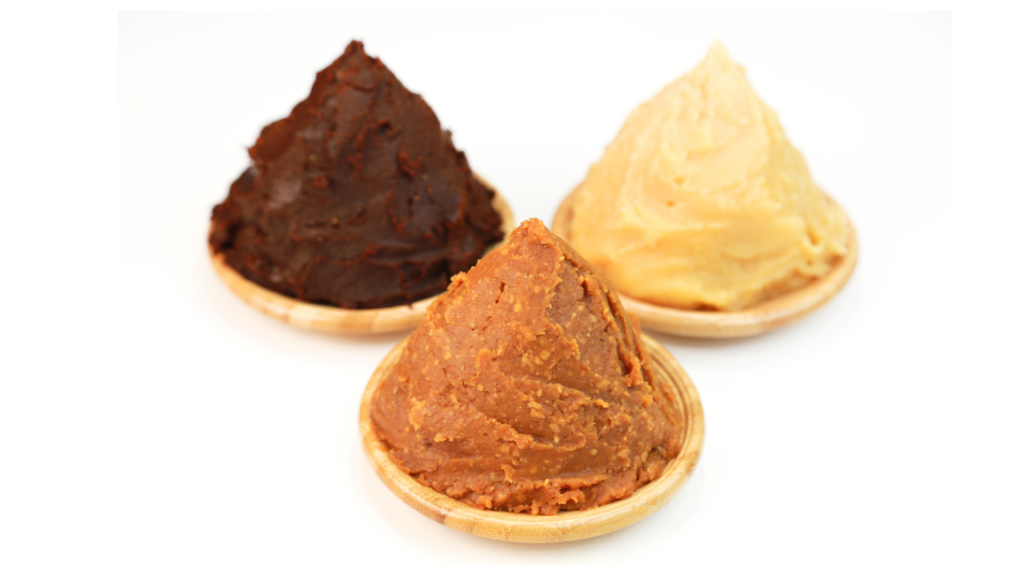
What is Miso?
In Japanese cuisine, miso stands as the quintessential seasoning, gracing countless dishes with its rich umami flavor.
While store-bought miso is readily available, venturing into the realm of homemade miso brings forth a unique and deeply satisfying culinary experience.
Crafting miso from scratch is no fleeting endeavor; it’s a patient journey that unfolds over the course of a year. Is it worth the effort? Absolutely!
Homemade miso boasts a natural, profound taste that transcends the commercially produced counterparts. Unlike its accelerated counterparts, homemade miso is nurtured over time, devoid of any fermentation accelerators or artificial additives.
Time becomes the silent architect, infusing the miso with a distinct aroma and a bounty of probiotics that contribute to its healthful qualities. This meticulous process gives rise to what is affectionately known as “Temae-Miso,” a homemade creation that is deeply appreciated in Japanese culinary traditions.

Speaking of “Temae Miso,” the phrase extends beyond the kitchen and finds a unique place in expressions of achievement. By prefacing good news with “Temae Miso,” one humbly shares success, as if to say, “Allow me to quietly share this accomplishment.”
For instance, “Temae-miso, my son performed remarkably in the speech contest and earned the first prize.” This cultural nuance adds a touch of humility to the conversation.
Commencing the miso-making adventure ideally aligns with the onset of winter, as the dropping temperatures create an optimal environment for fermentation.
November to January marks the commencement of this transformative journey.
So, are you ready to embark on this miso-making odyssey with me? Let’s explore the artistry of homemade miso and savor the unique flavors that time and tradition bestow upon this cherished Japanese seasoning.
How to make Miso
Prepare Soybeans:
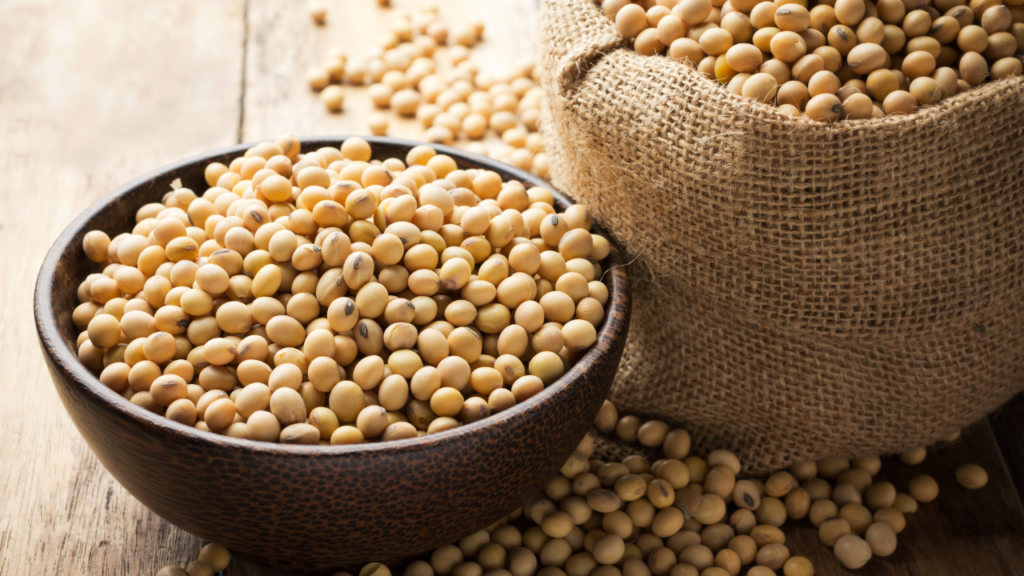
- Rinse soybeans and soak them in cold water overnight or for at least 8 hours.
- The next day, once fully re-hydrated, the beans should swell to three times their dry size.
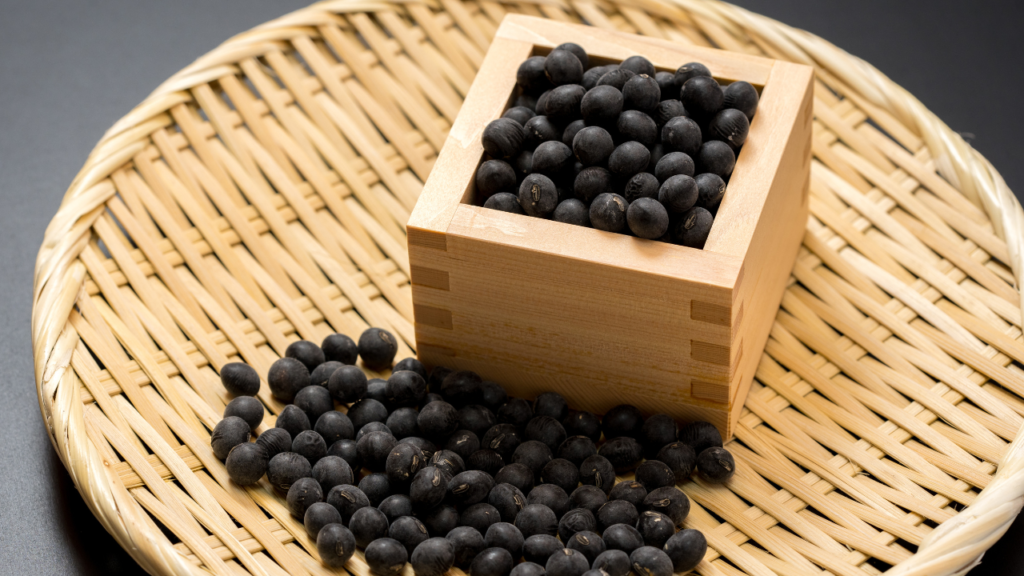
You can also use black soy beans (kuromame/黒豆) for Miso. This makes even more Umami Rich Miso with antioxidants.
Cook Soybeans:
- Drain and place soybeans in a pot, covering them with water.
- Bring to a boil on high heat, then reduce to low, removing any foam that forms.
- Cover with a lid and simmer for 2 hours or until the beans are soft. Ensure there’s space to prevent boiling over.
- Alternatively, use a pressure cooker for a quicker 10-minute cooking time until soybeans are easily mashed.
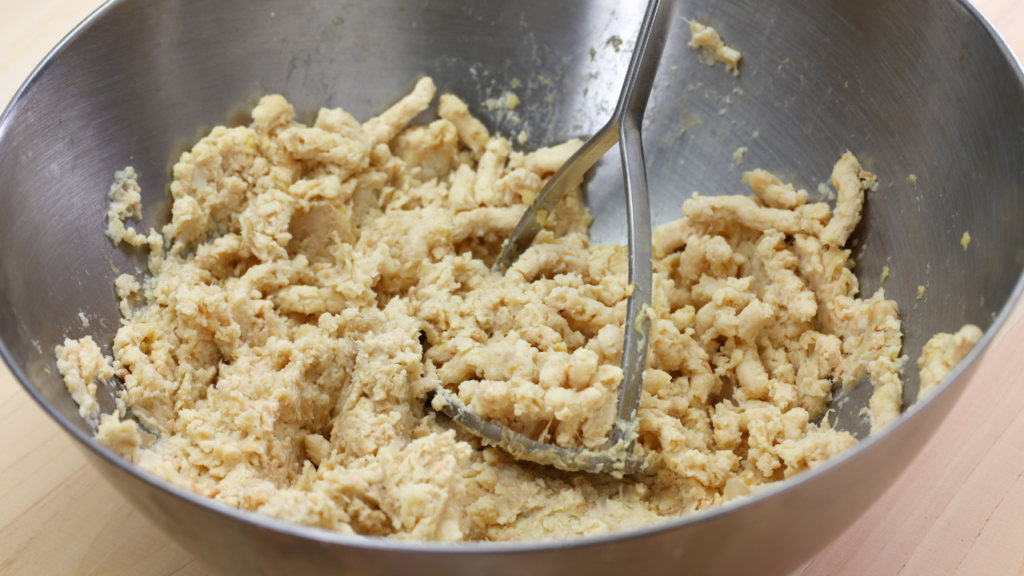
Mash Soybeans:
- Drain soybeans, reserving bean water.
- Mash beans using a masher or a food processor until a smooth paste is achieved. Leave small chunks if desired.
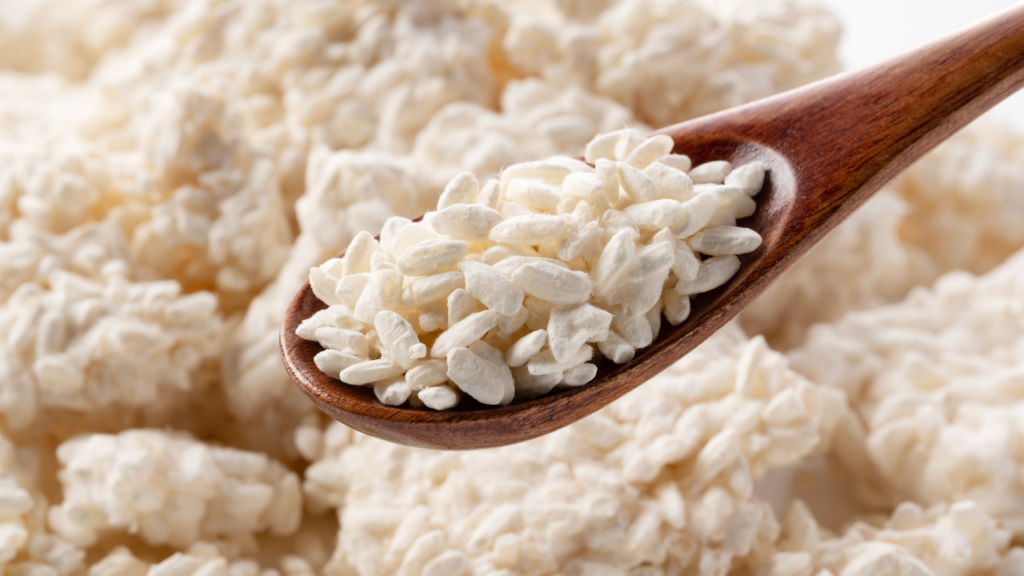
Prepare Koji and Salt Mixture:
Koji is a type of fungus, specifically Aspergillus oryzae, and it is cultivated on steamed rice.
- Sterilize a mixing bowl with alcohol or boiling water.
- Mix rice koji and salt in the bowl, reserving 2 to 3 tablespoons of salt for later.
- Moisten the mixture with 2 to 3 tablespoons of bean water. Adjust consistency as needed.
- Combine Soybean Paste and Koji Mixture:
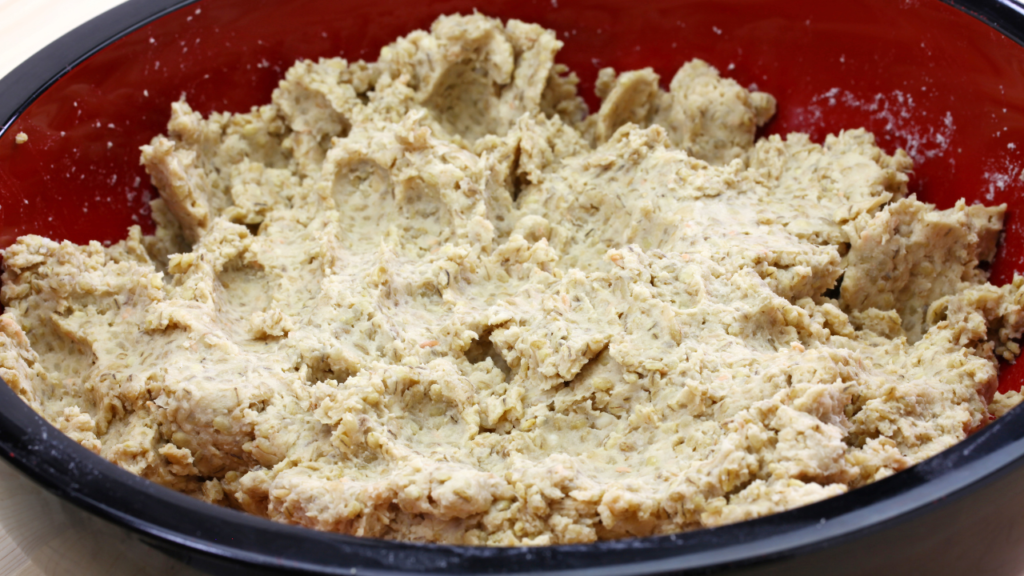
- Mix soybean paste with the koji and salt mixture thoroughly.
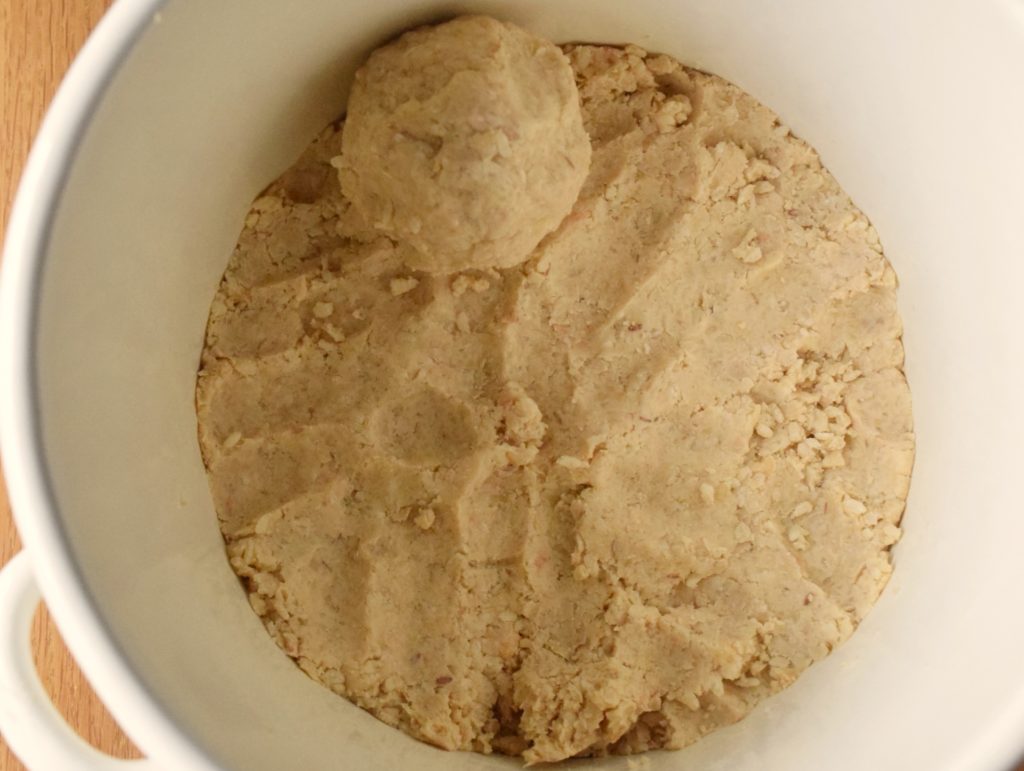
- Shape the mixture into a ball, ensuring no air is trapped.
- Pack the mixture tightly into a container, tapping the surface to remove air pockets.
- Fermentation and Storage:
- Sprinkle the remaining salt on the surface.
- Cover with bamboo leaves or plastic and place a weight on top equal to the miso paste’s weight.
- Allow it to sit in a cool, dark place for six months.
- “Tenchi Gaeshi” (Turn Sky and Soil Over):

- After six months, remove weight and covering.
- Take out any fungus that may have formed.
- Stir the miso from bottom to top for even consistency.
- Transfer to a sterilized container, store in the fridge for an additional six months, and your homemade miso is ready to enjoy!
Health Benefit of Miso
Miso offers several health benefits:
- Probiotics: Miso is a rich source of beneficial bacteria due to the fermentation process. These probiotics promote a healthy gut microbiome, aiding digestion and supporting overall gut health.
- Nutrient-Rich: Miso is packed with essential nutrients, including vitamins, minerals, and amino acids. It provides B vitamins, vitamin E, folic acid, and various minerals like manganese, zinc, and copper.
- Antioxidants: Fermented foods like miso contain antioxidants that help neutralize free radicals in the body, potentially reducing the risk of chronic diseases and supporting overall health.
- Heart Health: The fermentation process in miso produces compounds that may contribute to heart health. Studies suggest that consuming miso may help lower blood pressure and reduce the risk of heart-related issues.
- Bone Health: Miso contains vitamin K2, which plays a role in bone metabolism and may contribute to bone health. However, the concentration of vitamin K2 can vary depending on the type of miso.
- Cancer Prevention: Some studies suggest that the compounds produced during soybean fermentation, found in miso, may have anti-cancer properties. The presence of isoflavones in soy can also play a role in cancer prevention.
- Improved Digestion: The enzymes formed during fermentation can aid in the digestion of food, potentially reducing symptoms of indigestion and promoting a healthy digestive system.
- Immune System Support: The probiotics in miso contribute to a balanced and robust immune system, helping the body defend against infections and illnesses.
It’s important to consume miso in moderation due to its salt content. Additionally, the health benefits can vary based on the type of miso, its ingredients, and individual health conditions. As with any food, it’s advisable to incorporate miso into a well-balanced diet for optimal health benefits.
Homemade Miso
Ingredients
- 1 kg soybeans (2.2 pounds)
- 1 kg rice Koji (2.2 pounds)
- 400 g sea salt (0.9 pound)
Instructions
- Rinse the soybeans. Soak in cold water overnight or at least 8 hours.
- The next day, the soybeans are fully re-hydrated. The bean swell 3 times bigger than the dry.
- Drain and put in a pot. Add water to cover, turn the heat to high to bring it to a boil.Turn the heat to low, remove the form. There will be so much forms. Cover with the lid, simmer for 2 hours or until soft. Make some space to avoid boiling over.Or, you can cook in a pressure cooker. It's going to take 10 mins.Soybean should be so soft that you can mash with your finger easily.
- Drain the soybeans and transfer to a bowl. Keep the bean water for later use. Mash the beans with a masher, or use food processor to get smooth paste. You can leave small chunks if you like.
- Sterilize the mixing bowl with alcohol. Use boiling water if you don't want to use alcohol. Mix rice koji and salt in a bowl. Leave out 2 to 3 tbs salt for later use.Add in 2 to 3 tbs bean water to moisten the koji and salt mixture.Add if you need more to get the consistency as the soybean paste.
- Mix koji and salt mixture and soybean paste well.
- Shape into a ball. Make sure no air inside. Pack in a container.Tap the surface with your palm and pack tightly as much as you can. Sprinkle the surface with the remaining salt. Cover the surface with bamboo leaves or a piece of plastic.
- Put the weight on top; it should be the same wieght as miso paste.Cover with a paper and let it sit in cool dark place for 6 months.
- After 6 months, it's the time to "Tenchi Gaeshi". It means "Turn sky and soil over." Poetic. Lol.Take off the weight and bamboo leaves. Take out the fungus. It's not harmful but I don't want that.Give it a stir. Scoop the Miso from bottom to top and mix well.
- Transfer to a sterilized container again, and keep it in a fridge.It's the rainy season in Japan. If we leave it at room temperature, the Miso will go bad.Keep in the fridge for another 6 months and it's done!