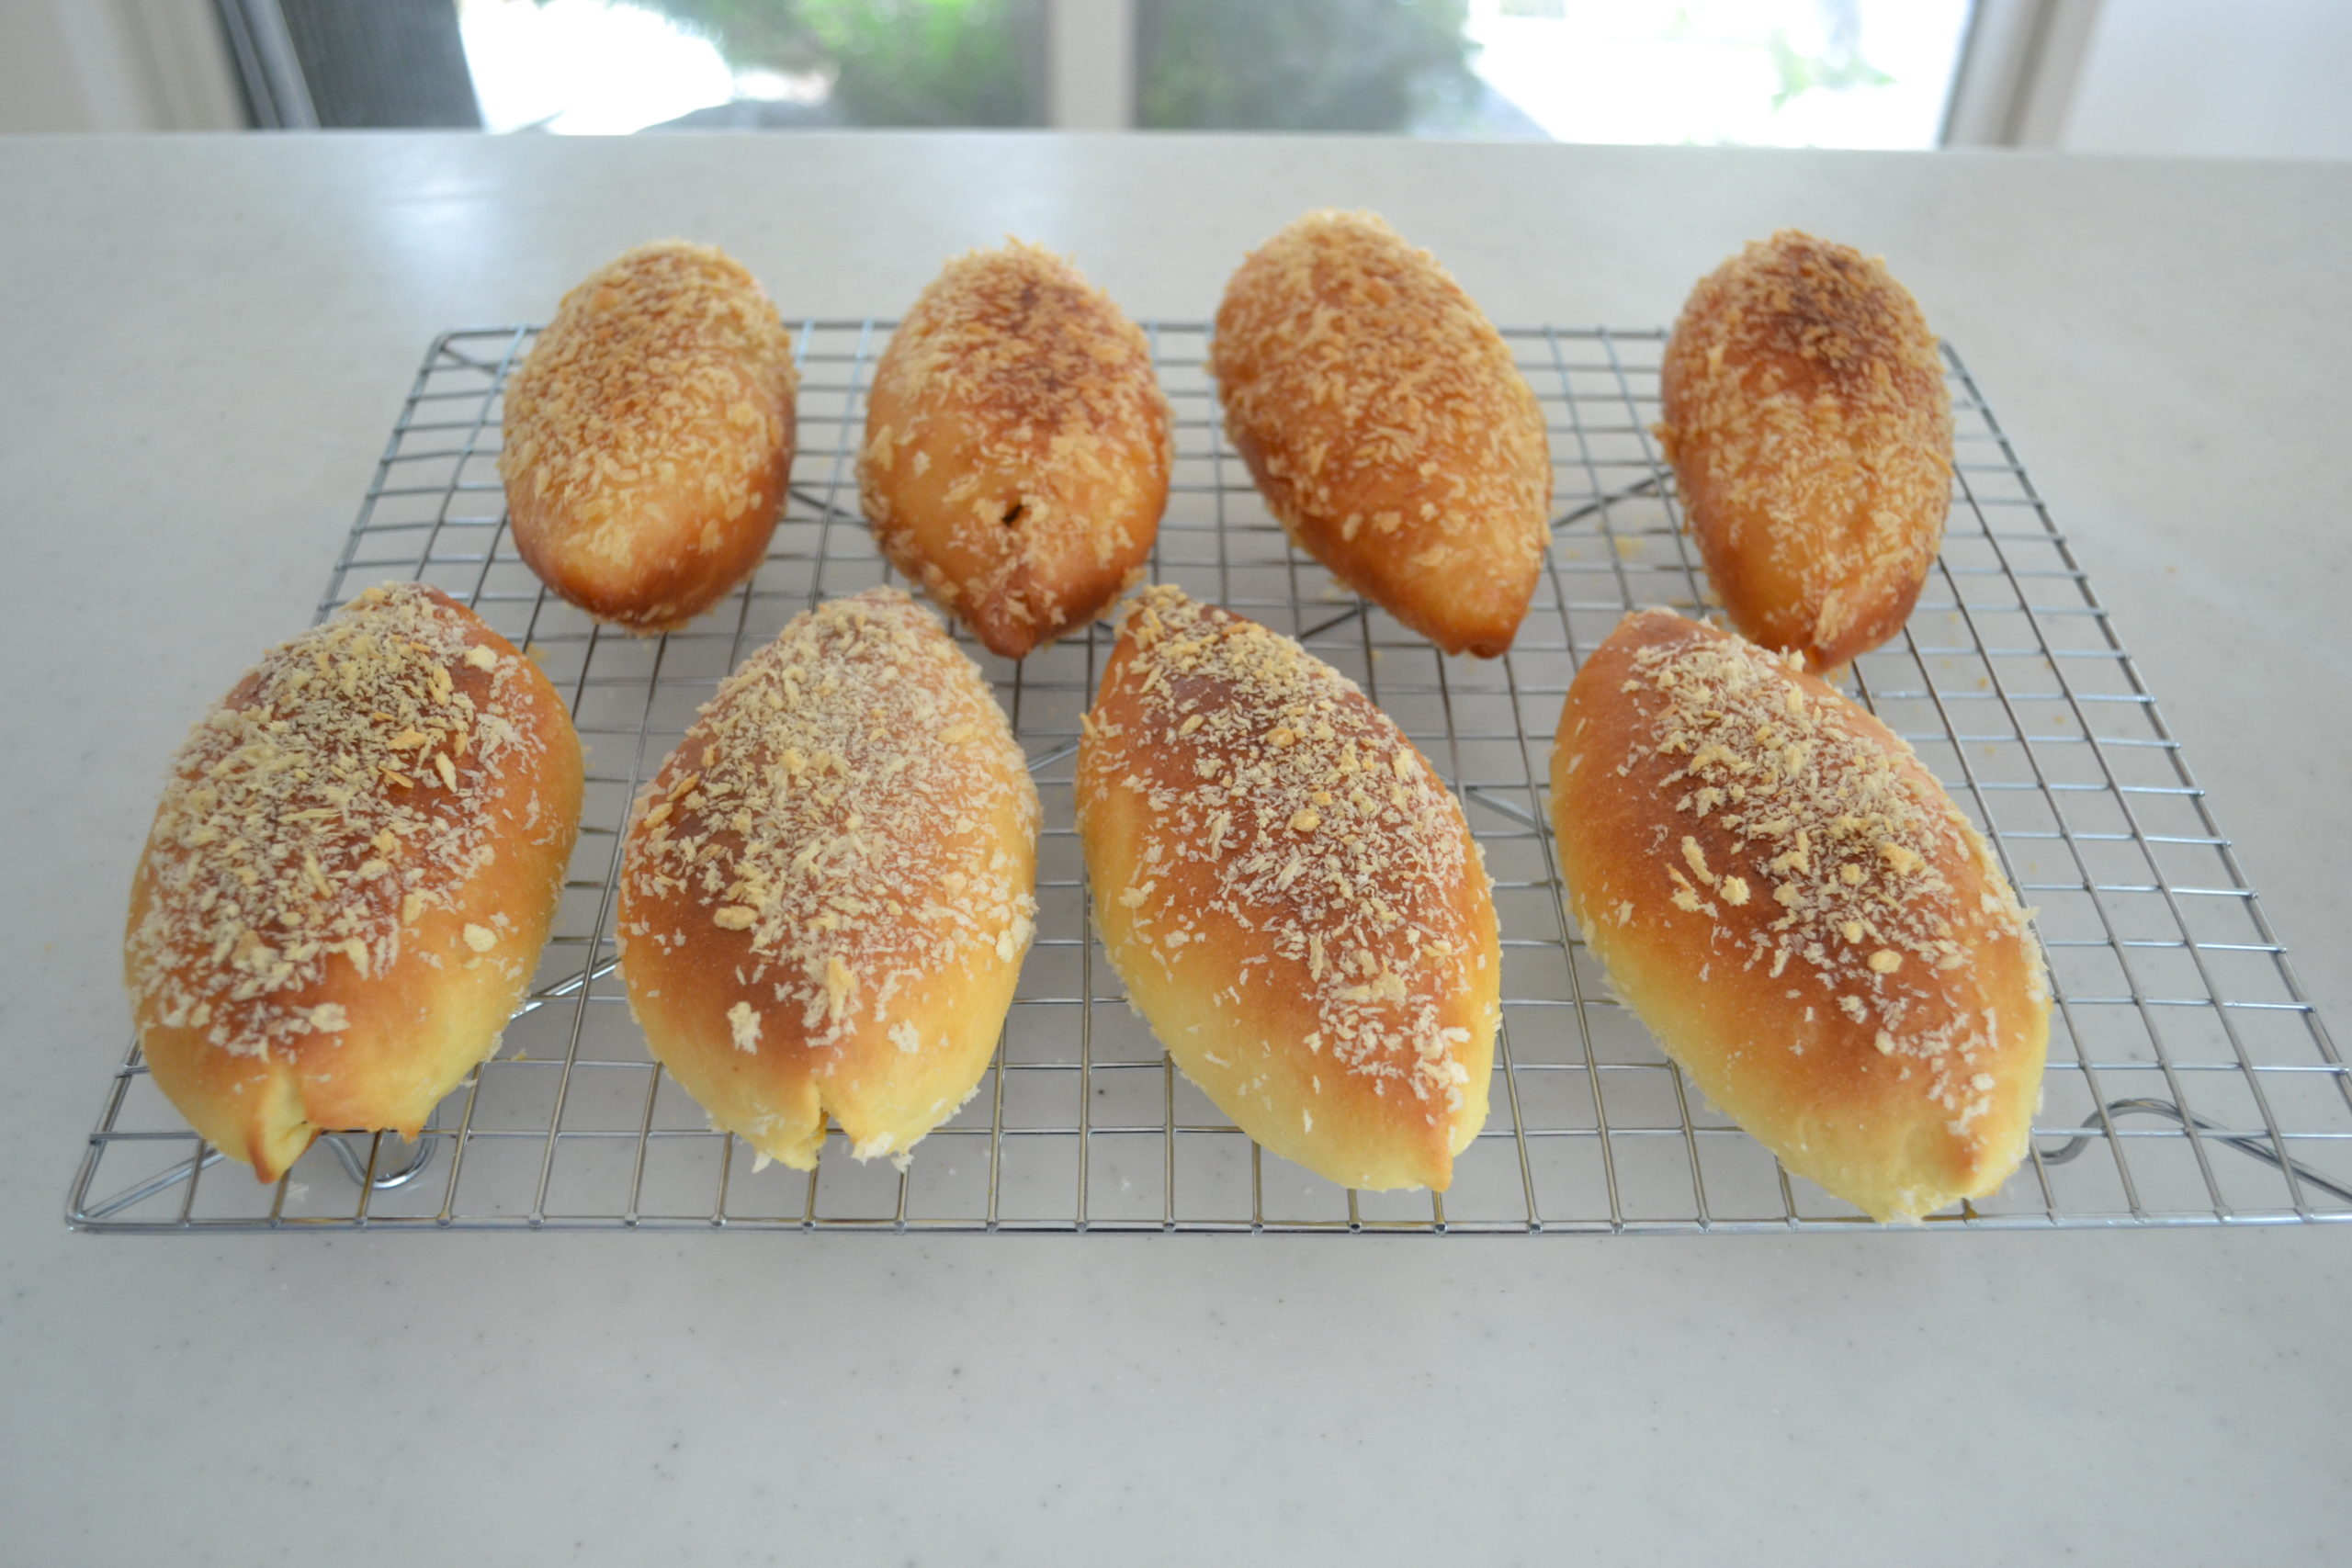
HOW TO MAKE ★JAPANESE CURRY BREAD★ KARE-PAN (EP213)

Today I want to share with you how to make the Japanese Curry bread, aka Kare-Pan.
Kare means Curry-pan means Bread, some of you have already guessed it what it is.
This deep-fried bread with a crisp outside, filled with Japanese style curry inside is the most popular bread in Japan, according to the latest survey.
Sometimes I crave for it because I used to buy at my favorite local bakery, but I can’t go freely as before. So I made it instead of buying it, as always!

Curry Bread
The most popular bread in Japan
Equipment
- bowl
- oven
- frying pan
Ingredients
The dough
- 250 g bread flour
- 20 g sugar
- 5 g salt
- 3 g instant dry yeast
- 1 egg yolk
- 190 ml whole milk
- 25 g unsalted butter
Curry filling
- 50 g carrot
- 1 green bell pepper
- 1 small onion (150g)
- 1 clove garlic
- 200 g ground beef
- 1 tbs curry powder
- 1 tbs all-purpose flour
- 1½ tbs ketchup
- 1 cube chicken soup
- 1 cup water
- ½ ts salt
Breading
- 1 tbs egg white
- ½ cup Panko bread crumb
Instructions
The dough
- Whisk egg yolk and milk well.
- Put your bread flour into a medium-size bowl. Add sugar and salt, stir to mix. Add in yeast and mix. Yeast should not directly contact with salt because the salt might kill the yeast. Add 1/3 of your egg and milk mixture in a slow and steady stream. Toss to distribute. Add the rest of the egg-milk mixture in two times and toss to distribute each time. Save a little amount of egg-milk mixture to adjust the consistency.Add the rest of the mixture to dryer part.
- When the dough comes together in one lump, cover with a piece of plastic. Leave it 10 mins to relax the gluten. You can shorten the kneading time by resting the dough.
- After 10 mins, take out the dough onto your working surface.Knead until smooth for 3 mins. If it is too sticky to handle, dust with some flour. But do not add too much. Keep in mind that the Japanese bread dough should be on the stickier side. That makes soft and moist bread.
- Spread the dough, add creamed butter. Fold in and knead until the bread dough comes back together. It takes about 2 mins. Pinch the dough and your dough stretches thinly almost see through the other side, finish kneading.Shape into a ball put it in a greased bowl. Cover with plastic, let it sit on a warm place for 45 to 50 mins until the dough rises double in bulk.
Curry filling
- Mince your carrot, green bell pepper and onion. You can do it by food processor.Mince your garlic, and set aside.Heat your pan on medium, and cook your ground meat until form a small crumb.Add in garlic and cook until fraglant.Add in minced carrot and green bell pepper.Stir and cook for a couple of minutes, and add in onion, cook until translucent.Everything cooked through, add in a tablespoon of curry powder.Give it a stir until evenly seasoned.Add in all-purpose flour to thicken up the sauce, and add in ketchup to give it a mild acidity. Give it a stir to mix evenly.Add in one cube of chicken builon, and simmer to dissolve. Season with salt and reduce the sauce until almost all of the liquid is gone.Turn off the heat and let it cool slightly.Here is my pro tip for you to make your curry buns more doable.Mix in panko bread crumb into the filling.Panko bread crumb soak up all the liquid, and makes a soft filling that doesn't flow out when you take a bite. Transfer to a tray, and let it cool to room temp.
Shaping
- Meanwhile, let's check our dough.Now it's nearly double in volume, it's time to finger test.Dust your finger generously with bread flour, and poke in the center.If the hall stay as it is, it's OK to go on to the next step.Take out onto your dusted working surface, and divide the dough into 8.This is how I do.Cut the dough in the middle, and shape into a log.And then mark the center, and the center of the left half and then right half.And cut each section into 2 and you have 8 equal portions.I always use scale to make it exactly in the same size, but if you don't want it, just skip it.Shape into a ball, you want to push the dough to tuck the end under neath, and the surface should have tension.Cover with the bowl we used to the first fermentation. Let them take a bench rest for 5 to 10 mins.But, it's summer time and the room temparature is high even if we have AC, taking a long bench rest makes your diveded dough puffs up and ends up undesired bread. 5 mins bench rest is enough at this time of the year. Or, if you are a begginer, just pop it in the fridge to stop fermentation, while working on one dough.Take one dough, place the end side up.Roll out into 15 cm in diameter circle.Place a spoonfull of curry filling and take the dough over it, and pinch to seal.You don't want to touch the edge to the filling, otherwise you can't seal nice and tight.Roll out to shape it into a rugby ball, the signature shape of the Japanese curry bread.
- Place it on a baking tray lined with a parchment paper.Cover with a piece of plastic and let it rise for 20 to 25 mins.The final fermentation shouldn't take long, because the dough forms a thin layer, and it expand in no time.Today, I'm going to deep-fry half of it, and bake the other half. It's your choice but I prefer the deep-fried. Preheat the oven for 200℃.Put a tablespoon of eggwhite in a small bowl, and whisk to loosen the firmness. You can also use whole egg. But I have egg white almost all the time, because I use egg yolk quite often for baking or topping for the dish.For the baked version, gently brush the surface of the bread.Sprinkle Panko bread crumb on the surface.For the deep-fried version, gently brush the egg white as well, and place it on the Panko upside down. If the end is opening, do not worry, pinch to seal again. Brush egg white for the other side and bread the surface.Handle with care and your curry bread is going to be very fluffy!Start deep frying on low, 120℃. If you start on low temperature, your bread will fully expand. If you start on high like you are deep frying, that will cook only outside and the inside around the filling will undercooked.Cook on medium low heat for 3 mins for one side.Flip it over and cook another 3 mins.Turn the heat to medium-high for the last minute of the cooking and cook it until golden brown.Bake the other half for 12 to 15 mins until golden brown.
