Everything you need to know about Gelatin and Vegan Gelatin~Gelatin, Agar-agar, carrageenan (EP214)
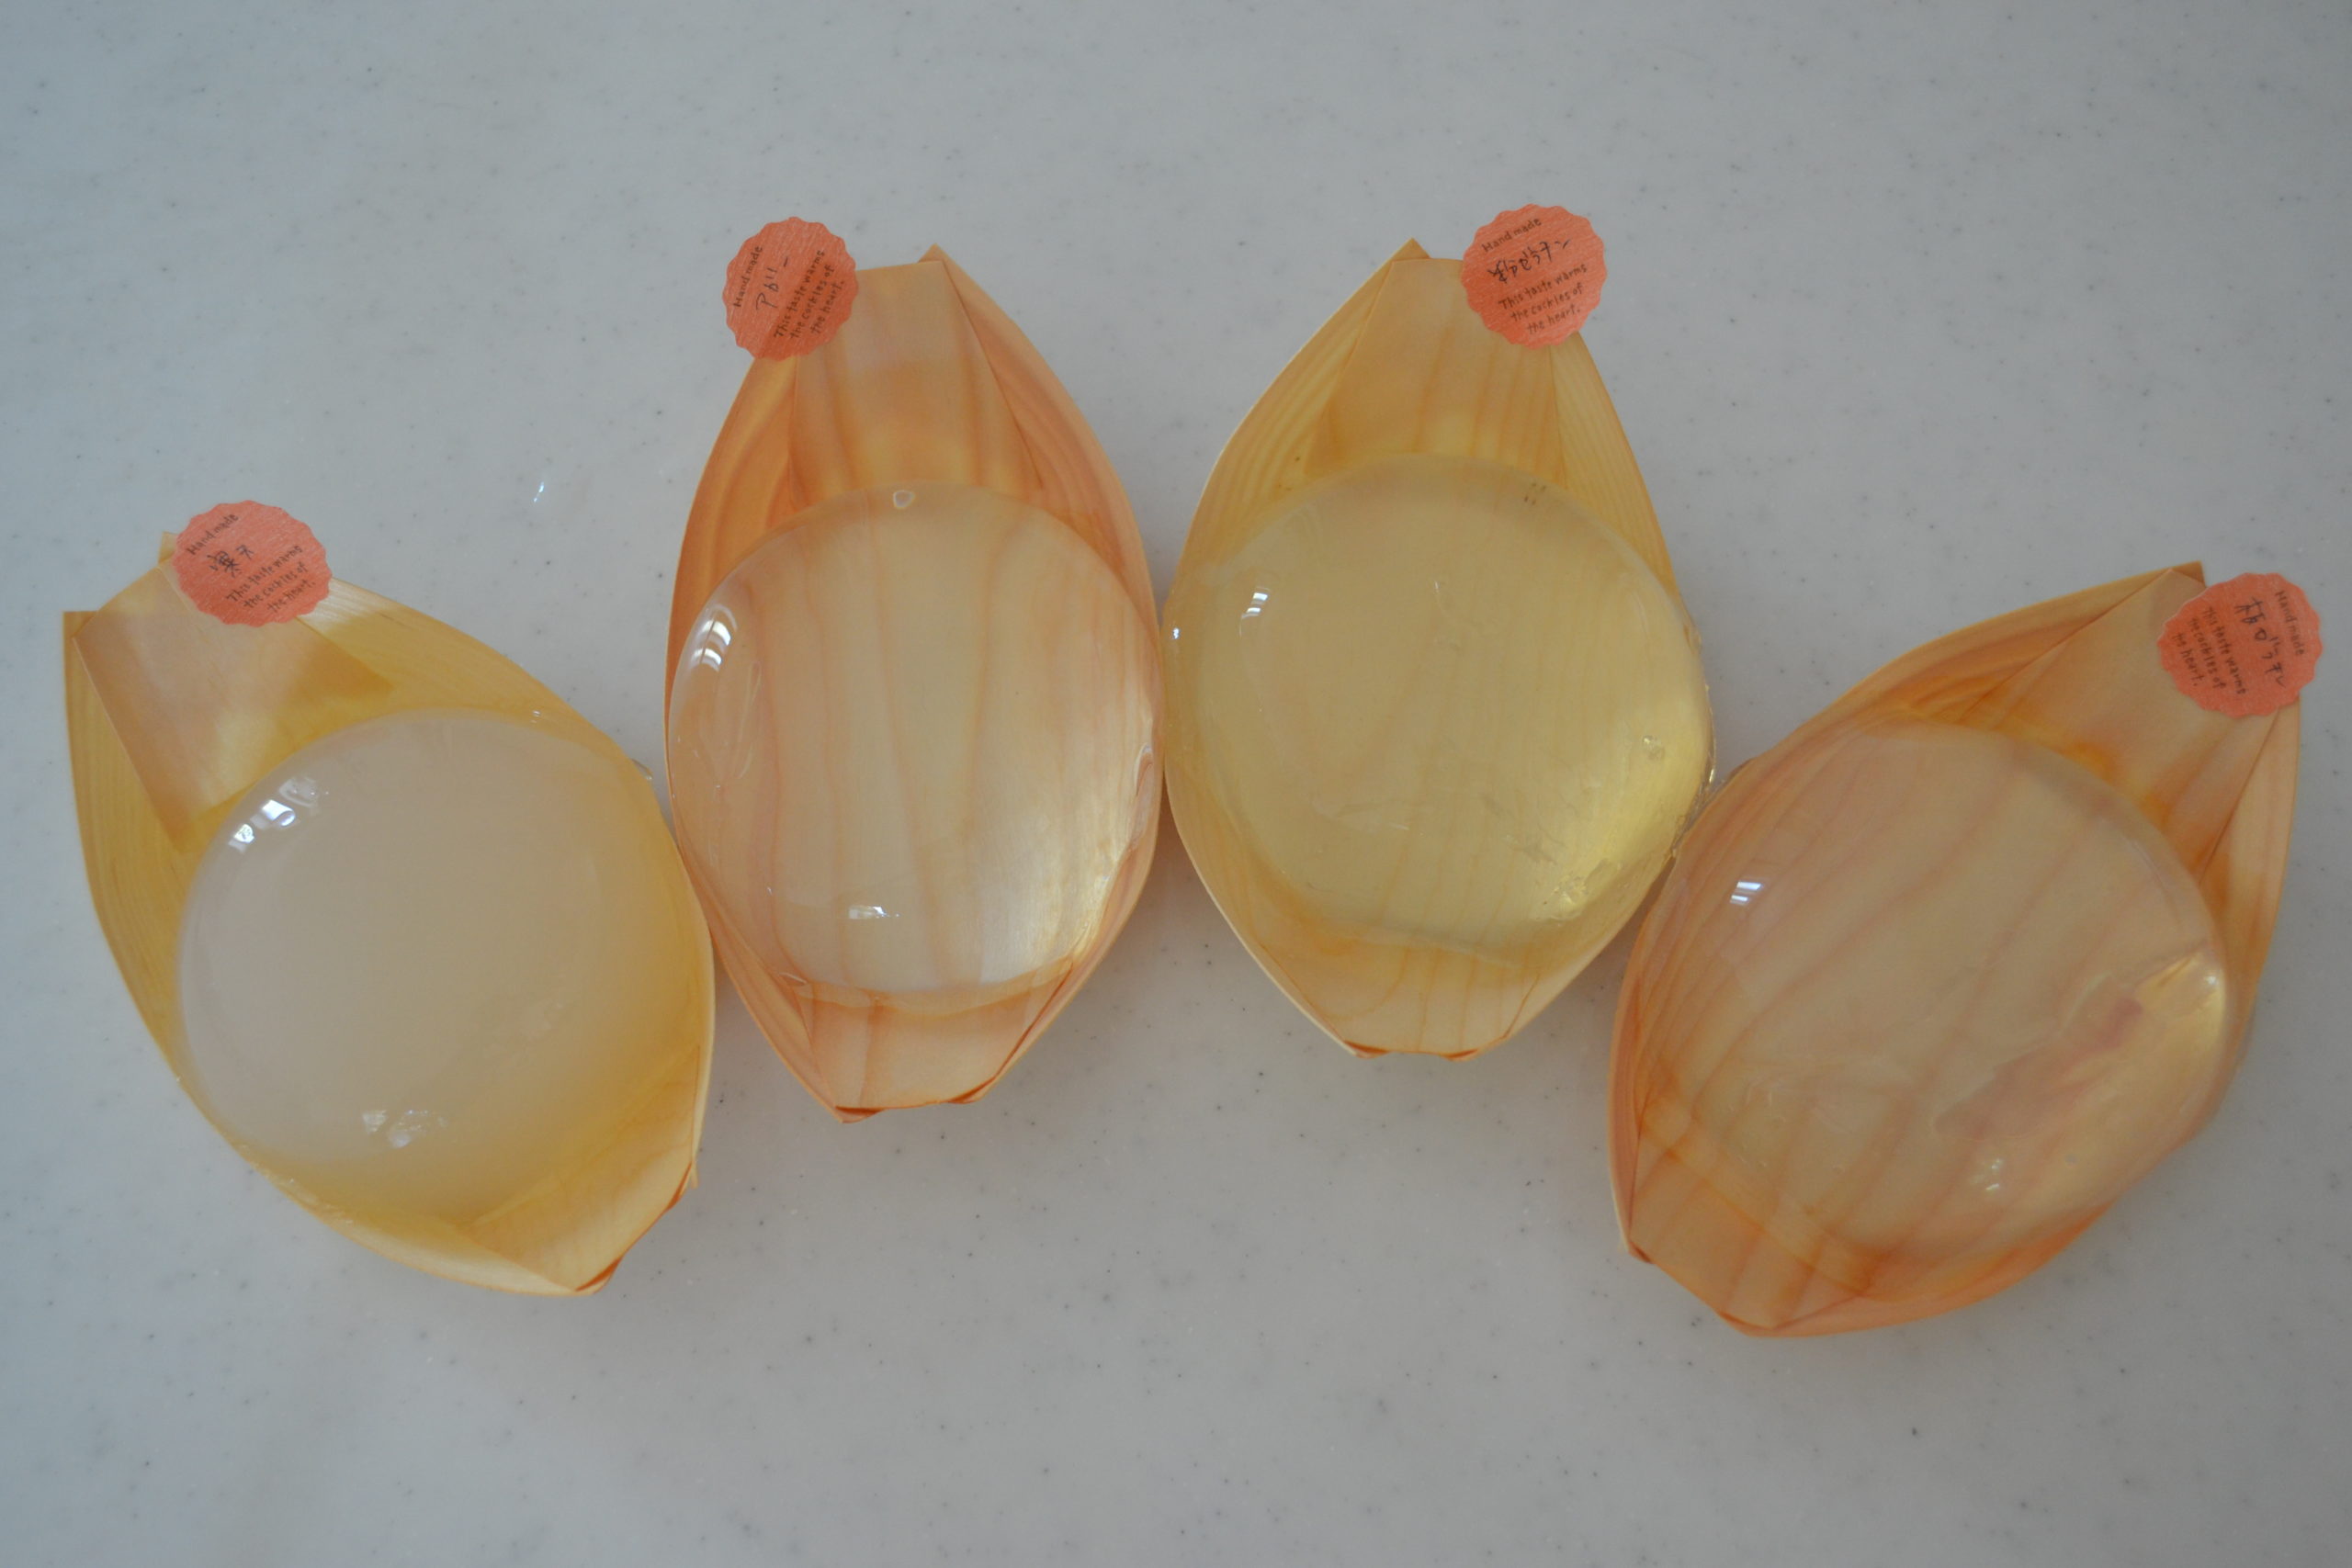
Today I want to share, everything you need to know about gelatin, agar-agar powder (=Kanten,) and Vegan gelatin(=carrageenan and locust bean gum product.)
In the Japanese kitchen, we explore the art of texture through a variety of gelling agents, each selected for its unique contribution to our culinary creations. Today, I’m excited to delve into an experiment with raindrop cakes, utilizing three distinct gelling agents. This comparison aims to showcase the nuanced differences each agent brings to the table.”
This version aims to convey the thoughtful and experimental nature of your culinary exploration, highlighting the diversity and purpose behind the choice of gelling agents.
Gelatin (powder/leaf)
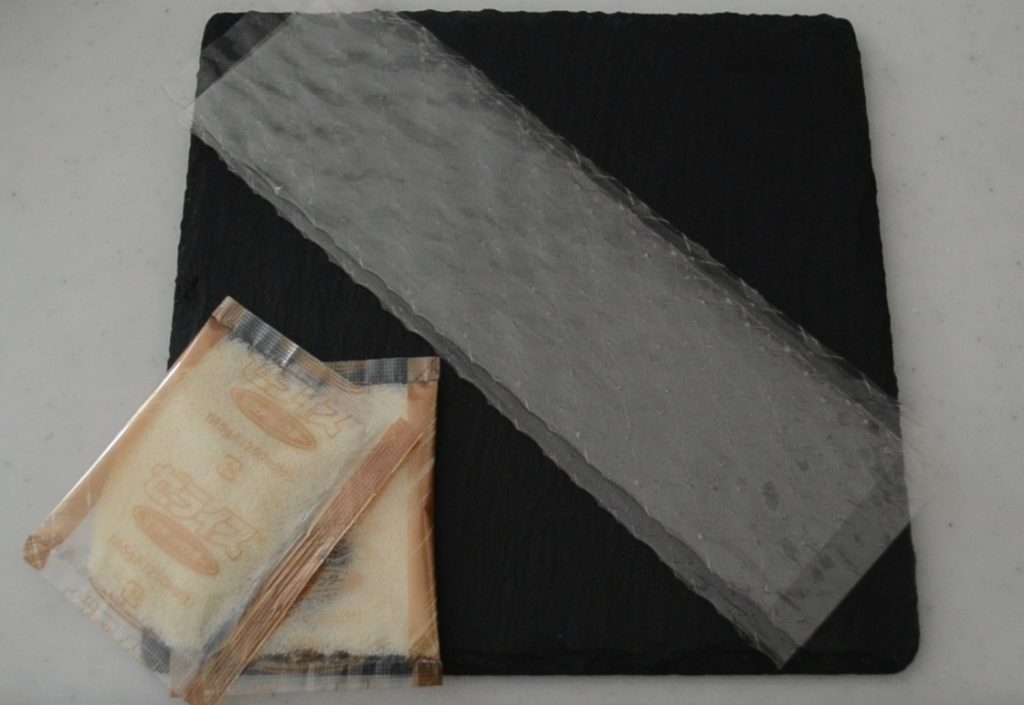
Let’s start with gelatin, which widely available and the most popular gelling agent for all of you.
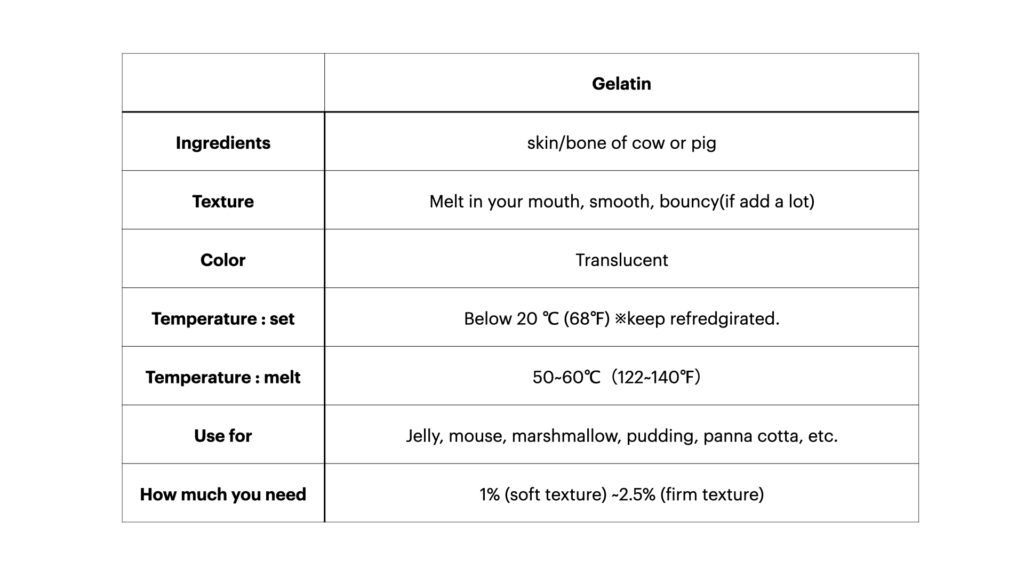
Gelatin, a protein derived from the skins and bones of cows or pigs, plays a pivotal role in creating textures that are both delicate and diverse. We commonly encounter two forms in the culinary world: powdered gelatin and leaf (or sheet) gelatin.
Powdered gelatin, readily available in supermarkets, comes in compact packages and is a staple for many home cooks. It requires blooming in water before use, typically at a ratio of 1 part powdered gelatin to 5 parts water, based on the liquid you plan to set. This pre-use step ensures the granules fully absorb the water, usually within 5 minutes. Recently, innovative products have emerged, allowing chefs to bypass the blooming process; these can be added directly to hot liquids, mixed, chilled, and voilà—your jelly is set. Always refer to the package instructions for the best results.
Leaf gelatin, favored in professional kitchens, offers a different experience. It should be bloomed in an ample amount of ice-cold water. The necessity for ice-cold water stems from gelatin’s melting point at 25°C (77°F); at room temperature, its gelling properties would diminish as it dissolves into the water. A minimum of 10 minutes is recommended to allow the sheets to fully swell, although package instructions may suggest less time. This is a professional tip for achieving perfect jelly consistency.
Gelatin’s charm lies in its versatility. It can create textures ranging from soft, melt-in-your-mouth jellies—which start melting at body temperature, instantly upon touching your tongue—to firmer jellies akin to gummy bears, by adjusting the gelatin amount. Whether you’re aiming for a soft, wobbly jelly or a stiffer texture, gelatin offers the culinary flexibility to bring your vision to life.”
This version aims to provide a clear, informative overview of gelatin’s uses and characteristics, offering practical tips and emphasizing its versatility in culinary applications.
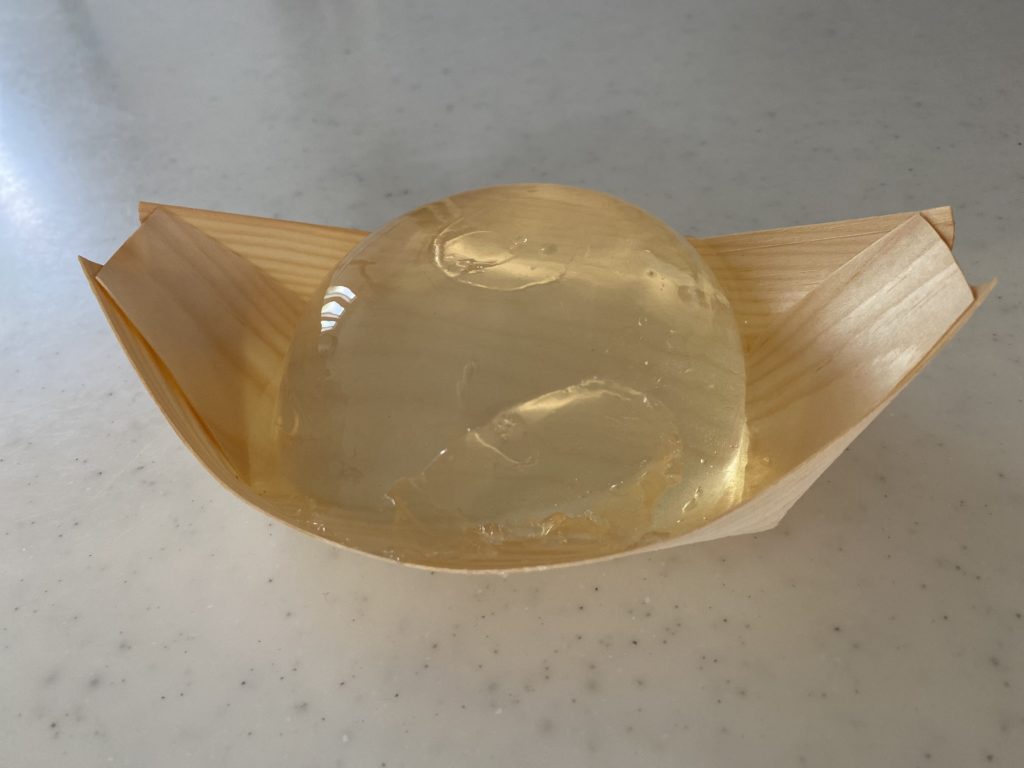
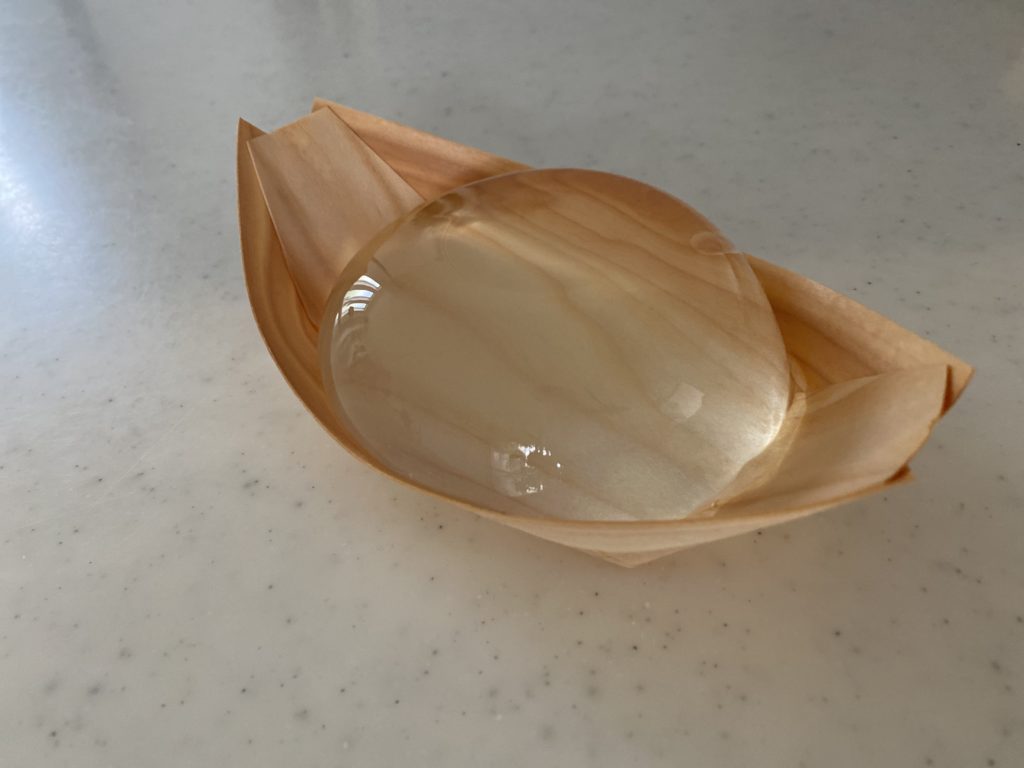
To make it into a raindrop cake, you will need
・10g gelatin
・ 10g of white sugar
・ a pinch of salt
・400 ml of water.
A Step-by-Step Guide to make a perfect Raindrop Cake (Water Cake) with Gelatin
- Start with the Base:
- In a bowl, combine your sugar and salt. Pour boiling water over this mixture and whisk until both sugar and salt are completely dissolved.
- Incorporate the Gelatin:
- Gently sprinkle powdered gelatin over the hot water mixture. Today, we’re using a convenient type of powdered gelatin that doesn’t require blooming. Whisk until the gelatin is fully dissolved, then place the bowl in an ice bath to cool.
- Begin the Setting Process:
- Allow the mixture to cool in the ice bath until it begins to thicken slightly. This pre-chill helps speed up the setting process.
- Mold and Chill:
- Carefully pour the semi-set mixture into a lightly moistened mold. To ensure a smooth release, make sure the mold is moist but not wet. Refrigerate for at least 2 hours, allowing the gelatin to set completely.
Important Tips:
- Avoid Boiling: Remember, never boil gelatin. High temperatures can weaken its gelling power, resulting in a less firm set.
- Leaf Gelatin Option: If using leaf gelatin, follow the same steps. Leaf gelatin also benefits from careful temperature management to maintain its setting qualities.
- Setting Time: Gelatin sets below 25°C (77°F), so giving it a head start in an ice bath can significantly reduce the time needed in the fridge.
By adhering to these steps and tips, you’ll ensure your gelatin desserts set perfectly every time. Whether using powdered or leaf gelatin, patience and gentle handling are key to a beautifully set, smooth, and delightful dessert.
Agar (or agar-agar) = Kanten
Next, agar (or agar-agar) powder, as known as Kanten in Japanese.
I didn’t know Kanten is sold in the name of agar outside Japan.
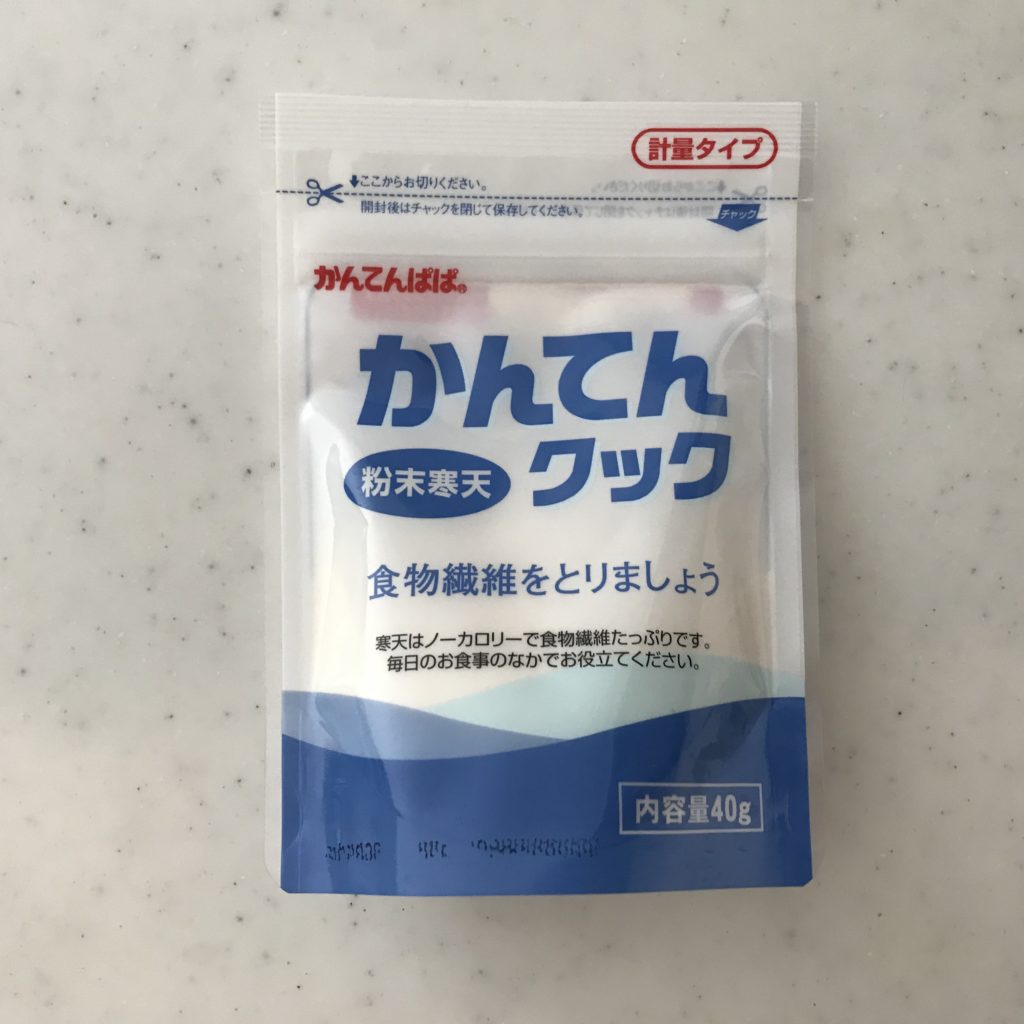
So I mixed up with the other product in the former videos. I apologize for that.

Let’s explore agar, a traditional Japanese ingredient used to make jellies firm.
It comes from seaweed and has been used for hundreds of years.
When you make jelly with agar, it turns a bit cloudy and feels flaky.
Unlike some jellies that melt in your mouth, agar jelly needs to be chewed
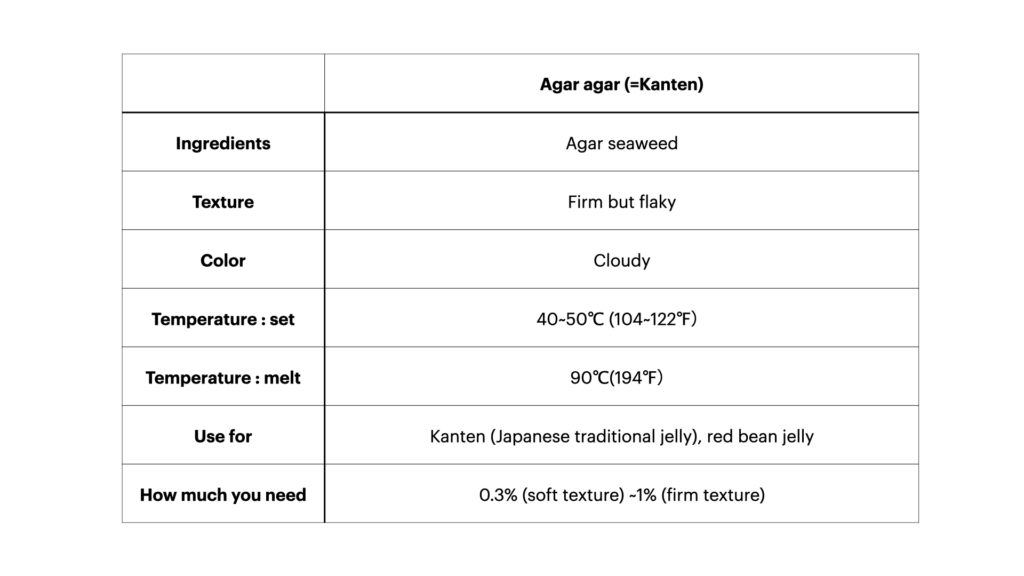
“Kanten” (寒天) is an extract of the seaweed ”Tengusa“(天草).
Tengusa is called ”agar” in English.
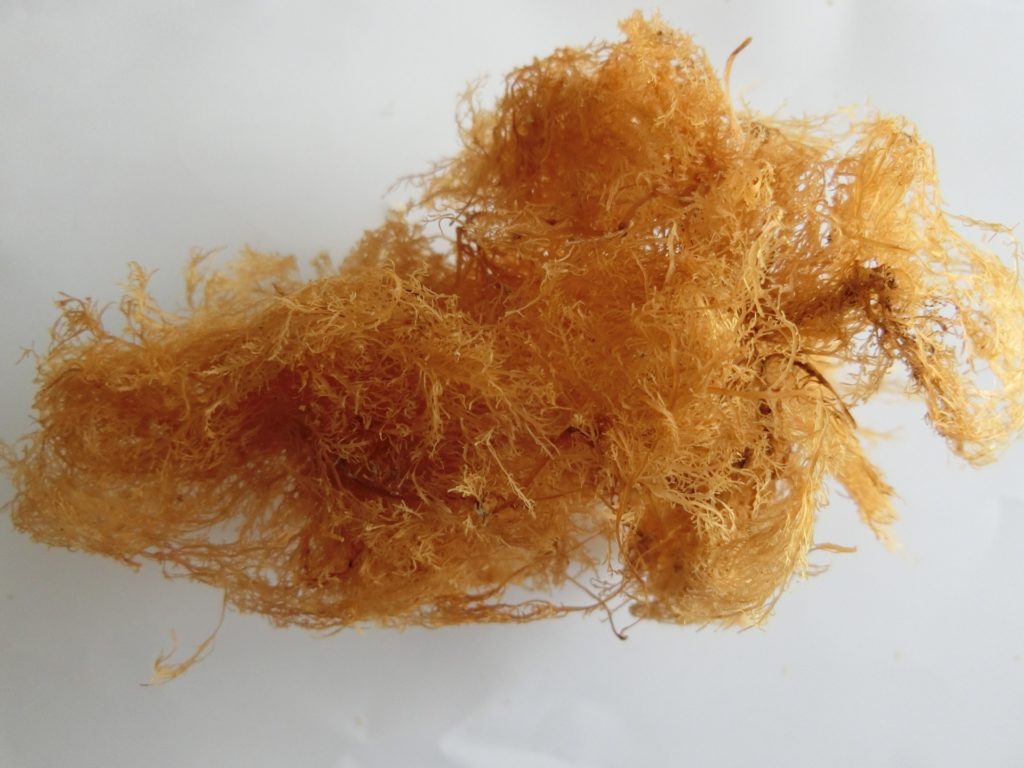
That’s why English-speaking people call it agar-agar.
Anyways,
Agar-agar (=Kanten), is available in three distinct forms: thread, bar, and powder, each offering unique properties for culinary applications.
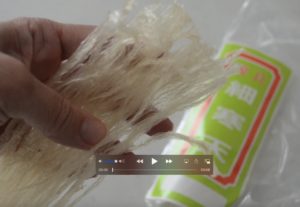
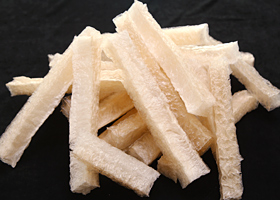
- 4g of agar-agar (Kanten) powder
- 10g of sugar
- A pinch of salt
- 400ml of water
Today, I’m using powdered agar-agar to achieve a texture similar to gelatin. Here’s what you’ll need:
Preparation Instructions:
Combine Ingredients: Start by adding the agar powder to a pot. Pour in the water and stir until the mixture is well combined. Heat the mixture over medium heat until it reaches a boil. It’s essential to boil for at least one minute to ensure the agar completely dissolves; otherwise, it won’t set properly.
Add Sugar and Salt: Once the agar is fully dissolved, reduce the heat to low and add the sugar and salt. Stir until these are dissolved as well.
Mold and Set: Quickly transfer the mixture to a moistened mold. Agar sets at temperatures between 40 to 50°C (104 to 122°F), so it’s crucial to work swiftly while the mixture is still hot.
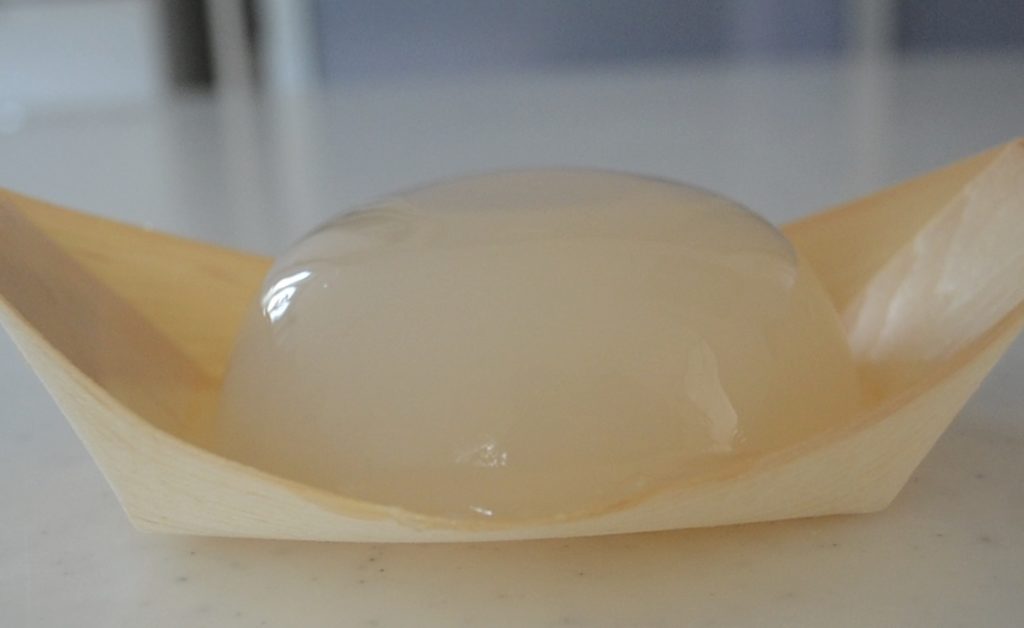
Vegan gelatin (carrageenan and locust bean gum product)
Finally, we turn our attention to vegan gelatin, often referred to as carrageenan.
On my site I will refer to the carrageenan and locust bean gum product as Vegan Gelatin.
Interestingly, in Japanese, this product is commonly called Agar, to differentiate it from Kanten.
Carrageenan, a type of seaweed extract, combined with locust bean gum, forms the basis of this gelatin alternative.
The versions you frequently encounter on YouTube are crafted from this very mixture.

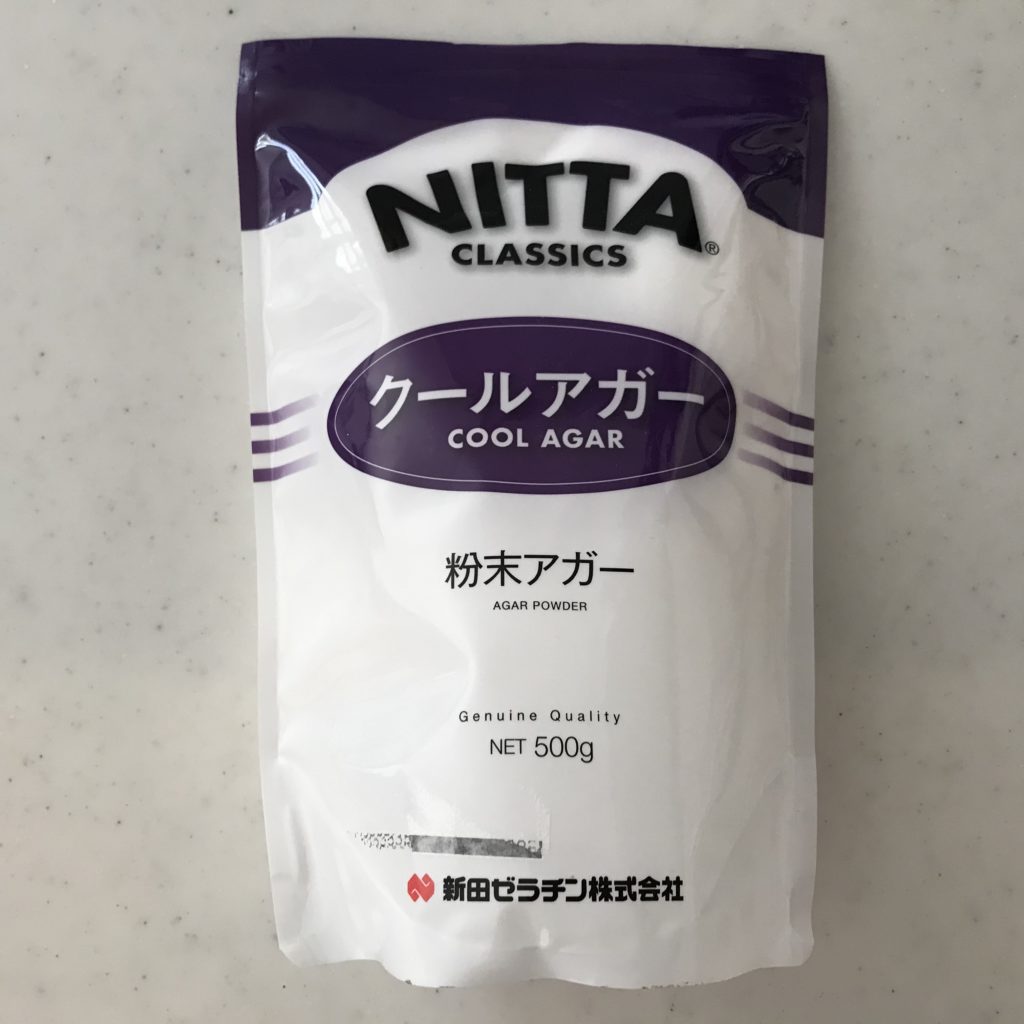
You can find a wide variety of Vegan gelatin products in Japan.
This product is relatively new, becomes very popular about 20 years ago.
Especially, after the raindrop cake becomes to known all around the world 10 years ago.
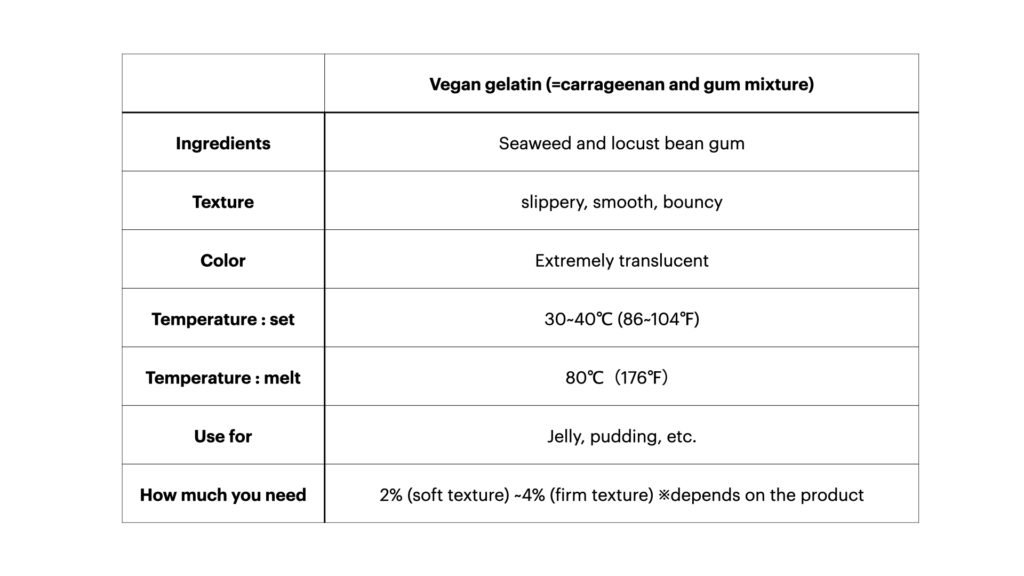
Vegan Gelatin (Carrageenan) produces a jelly of unparalleled clarity, boasting a texture that is simultaneously slippery, smooth, and bouncy. This unique texture greatly enhances the culinary experience, making Vegan Gelatin (Carrageenan) a favorite ingredient in many of my recipes.
Ingredients:
- 13g Vegan Gelatin (Carrageenan)
- 10g sugar
- A pinch of salt
- 400ml water
Instructions:
Prepare the Gelatin Mixture: Start by combining the Vegan Gelatin with sugar. The fine granules of the Vegan Gelatin can be challenging to mix directly with water. To facilitate mixing, first blend it with two tablespoons of water, ensuring a smooth consistency.
Whisk and Heat: Once thoroughly mixed, whisk the mixture to ensure uniformity, then transfer it to a cooking pot. Rinse the initial mixing bowl with the remaining water to utilize the full intended ratio of liquid in your preparation.
Cook with Care: Set your stove to a medium heat and warm the mixture until it’s just simmering. Avoid bringing it to a full boil to ensure the jelly sets correctly. While the mixture is still hot, promptly transfer it into a pre-moistened mold. Given that Vegan Gelatin solidifies at 40°C, it’s crucial to act swiftly, akin to the method used with agar-agar.
Cool and Set: Allow the jelly to cool to room temperature. Then, for the final setting, place it in the refrigerator.
By following these steps, you’ll create a delightful jelly with a unique texture that’s both enjoyable and versatile across a variety of dishes.
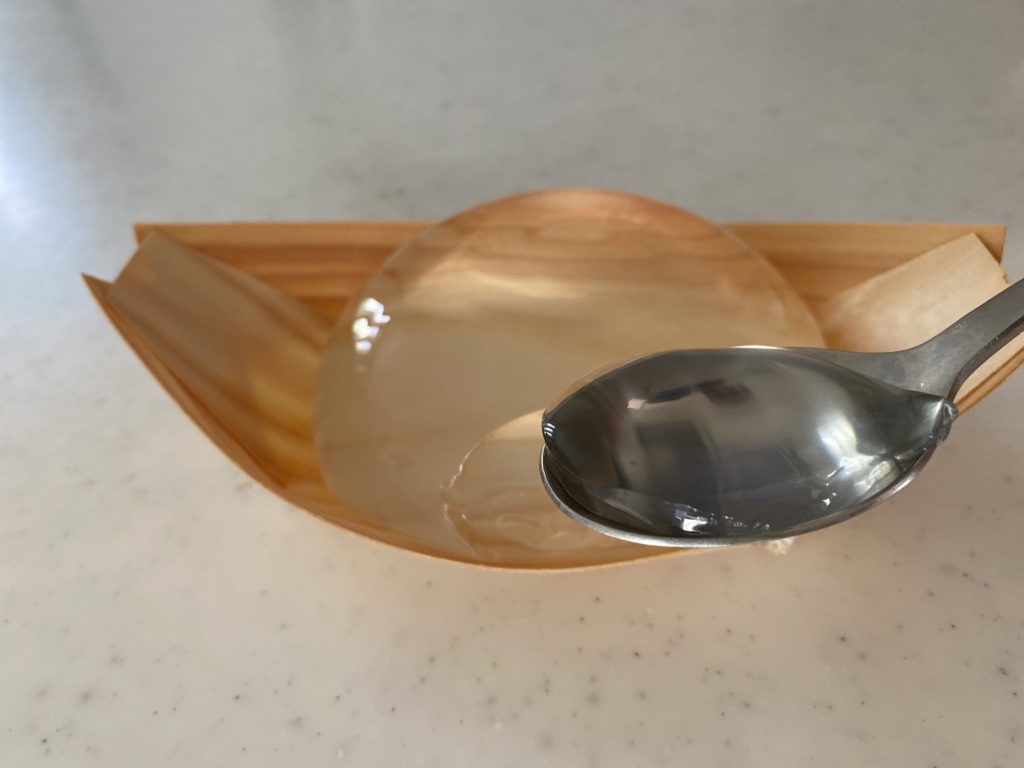
It makes crystal clear jelly of all.
But I don’t think you can easily access, but I found a similar product online.
Here is a good explanation of this type of product.
https://www.thekitchn.com/vegetarian-and-vegan-substitutes-for-gelatin-tips-from-the-kitchn-189478
Now you found out the difference, so you can make a jelly to your personal preference.
I hope the information is helpful!
