HOW TO MAKE ★RAISIN SHOKUPAN★FLUFFY RAISIN LOAF
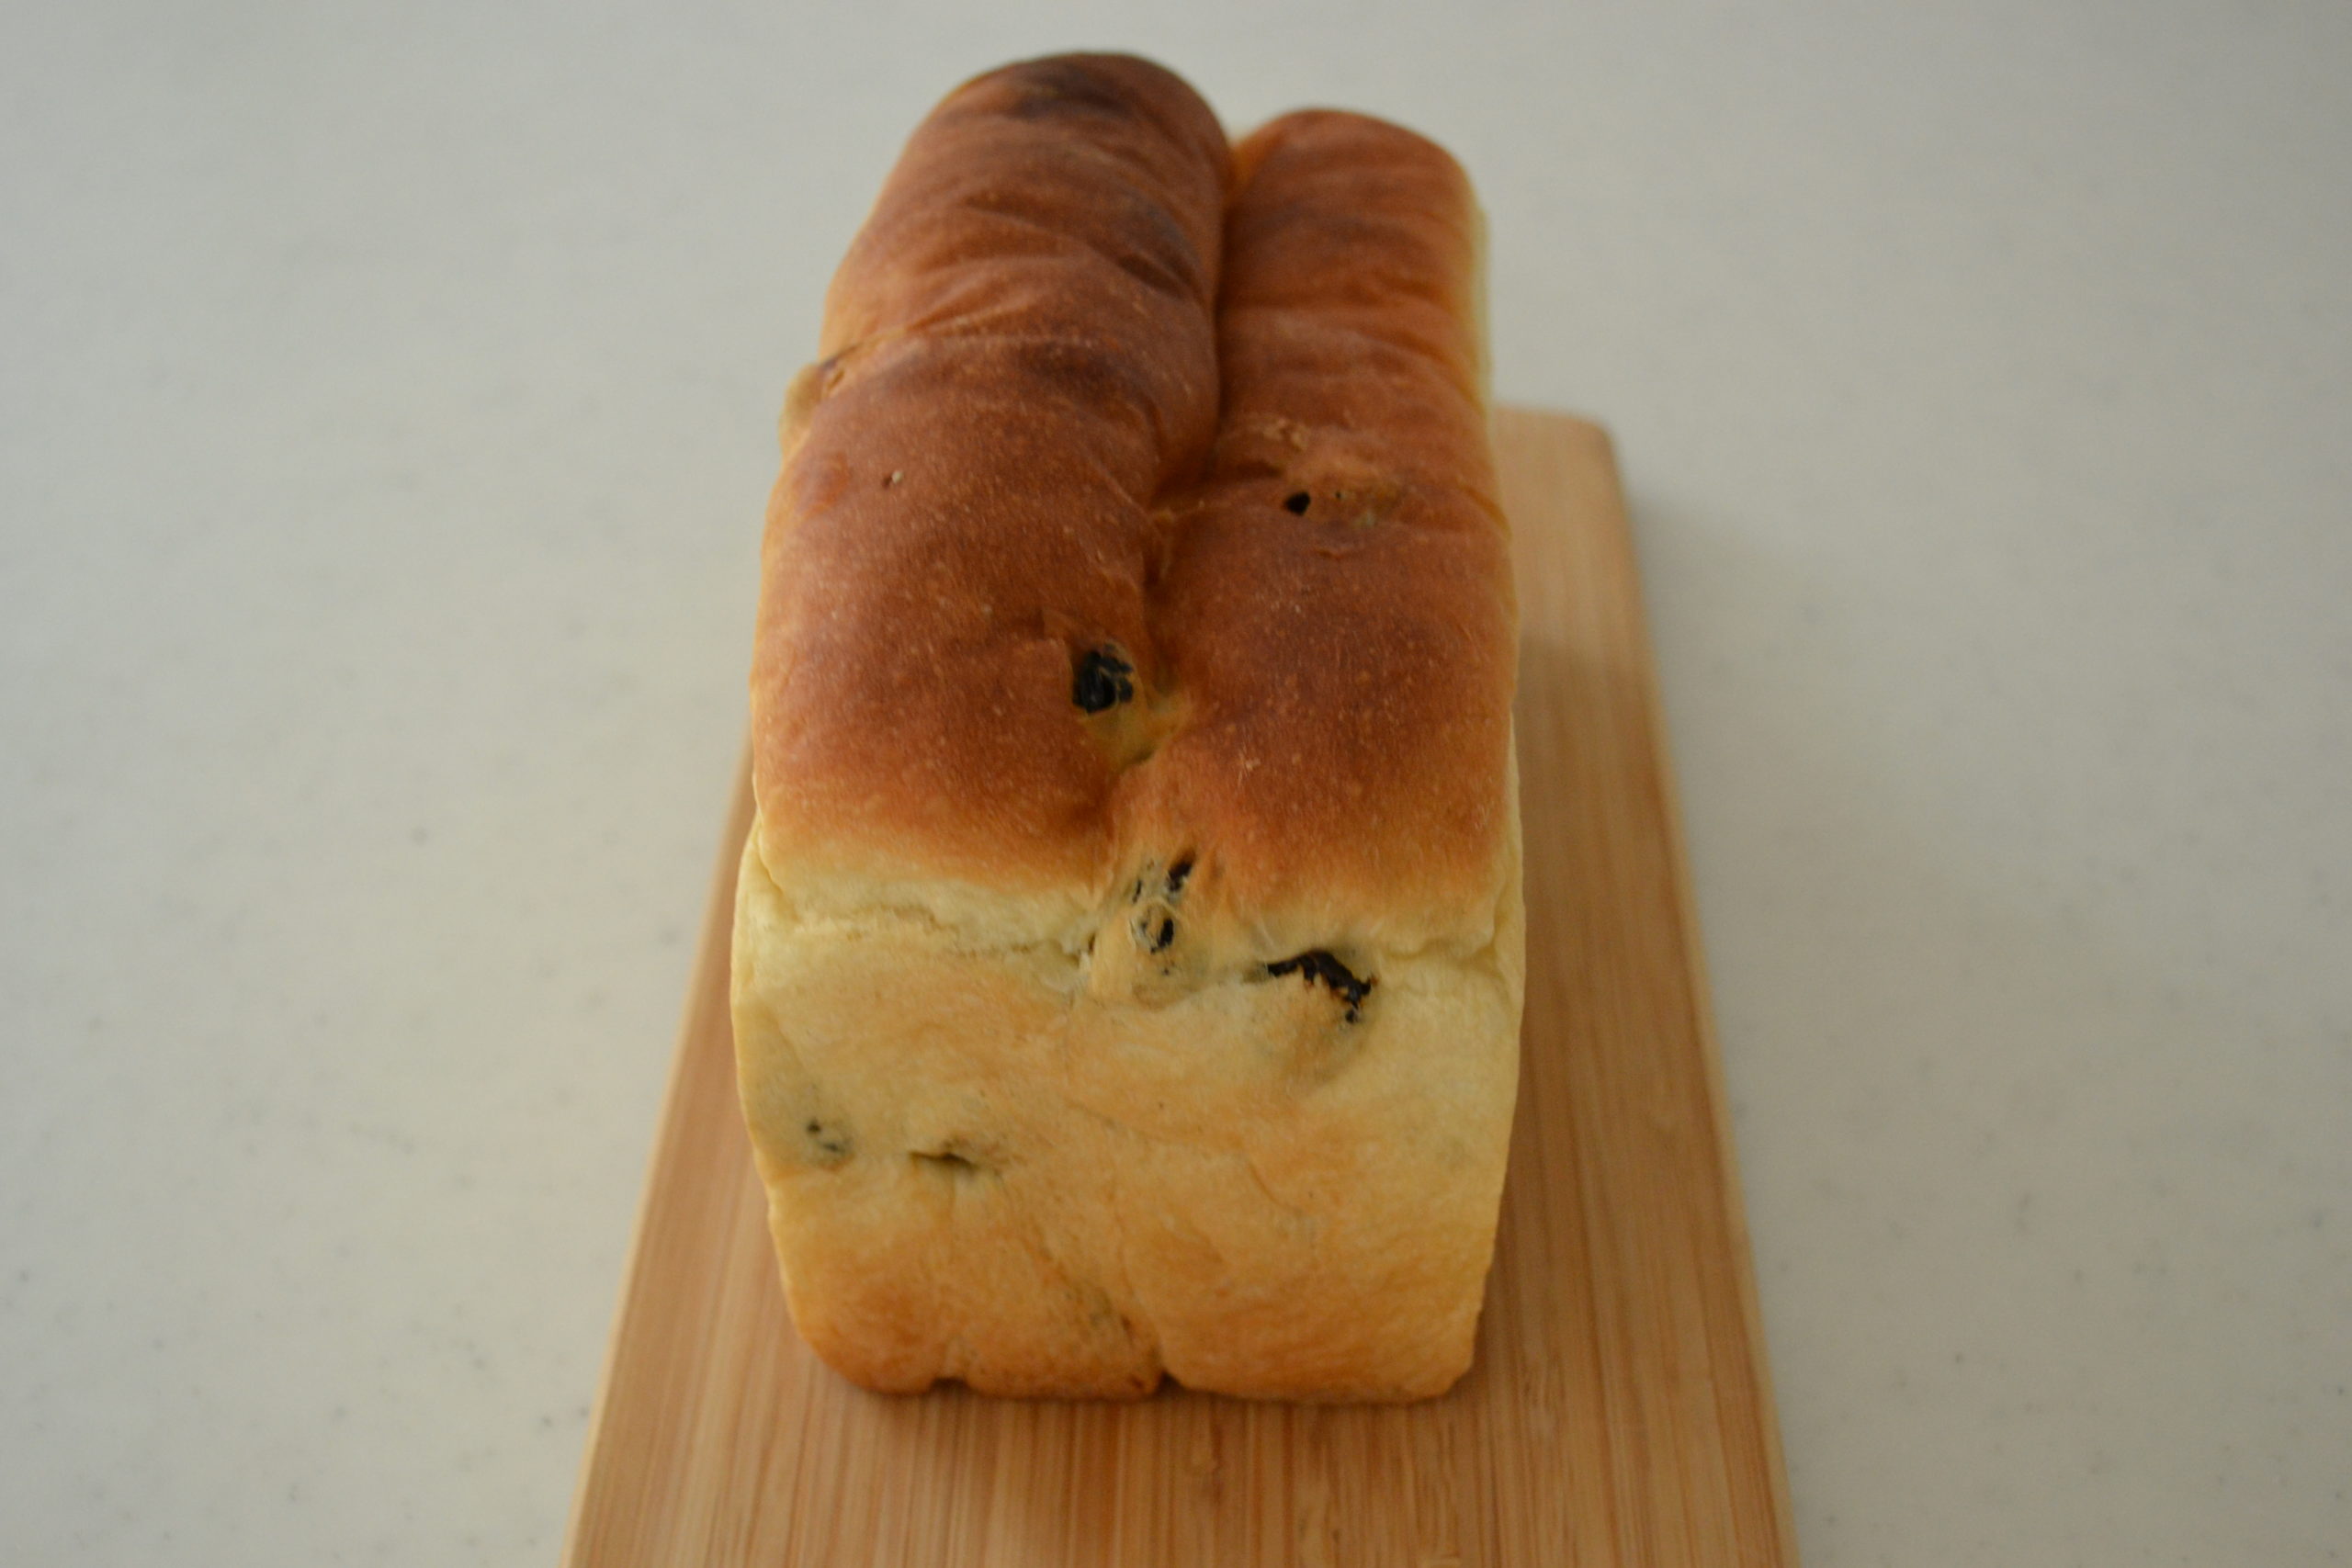
Today I want to share with you my raisin Shokupan.
Another delicious Shokupan!
It is a very popular daily bread you can find at any grocery store in Japan.
And it is often served as a school meal.
I was not too fond of it as a kid, but I like it as I grew older.
Because I found it better toasted, or a sandwich rather than eating as is.
Let me show you my favorite way of enjoying the raisin Shokupan.
Fruit Sandwich
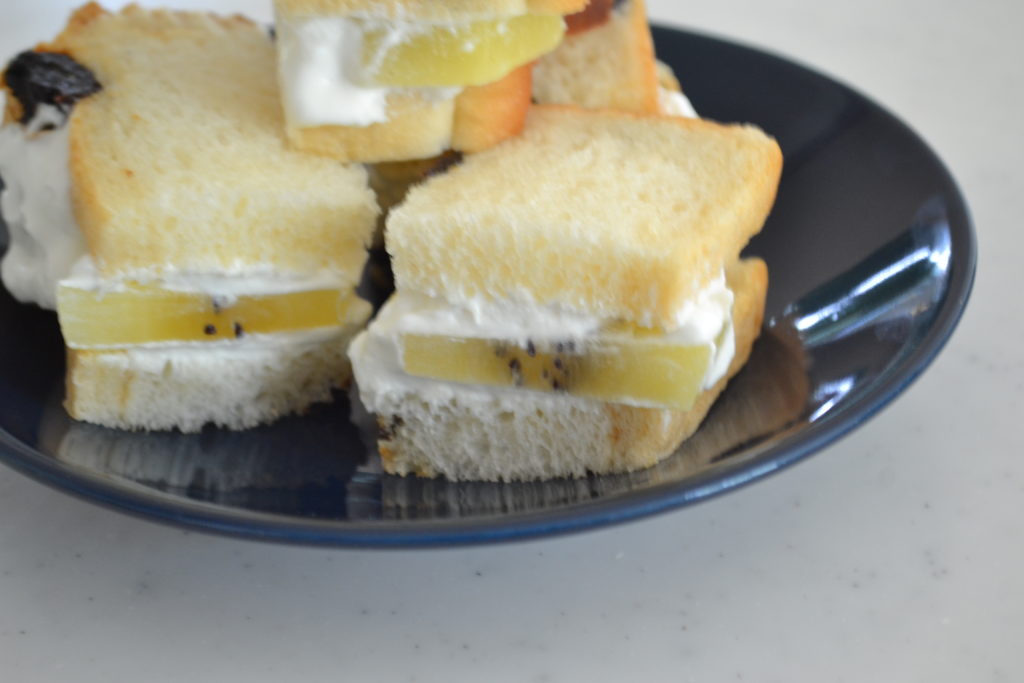
First, one is fruits sandwich.
The sugar content is not so high, but the raisin makes whole bread slightly sweet, so it makes a nice dessert sandwich.
Today, I choose a golden kiwi fruit, but bananas and oranges also makes another delicious fruit sandwich!
Yogurt whipping cream
100ml heavy cream
1 tablespoon plain yogurt
1 tablespoon sugar
Peel and slice a kiwi fruit into 1cm in thickness.
Instruction
Apply whipping cream on the thinly sliced raisin bread, put sliced kiwi fruit on top. Apply more whipping cream to fill the gap. Place one more slice of bread and press gently.
Wrap in a piece of plastic, and let it set for a couple of hours in the fridge.
Cut into 4 before serve.
Cheese sandwich
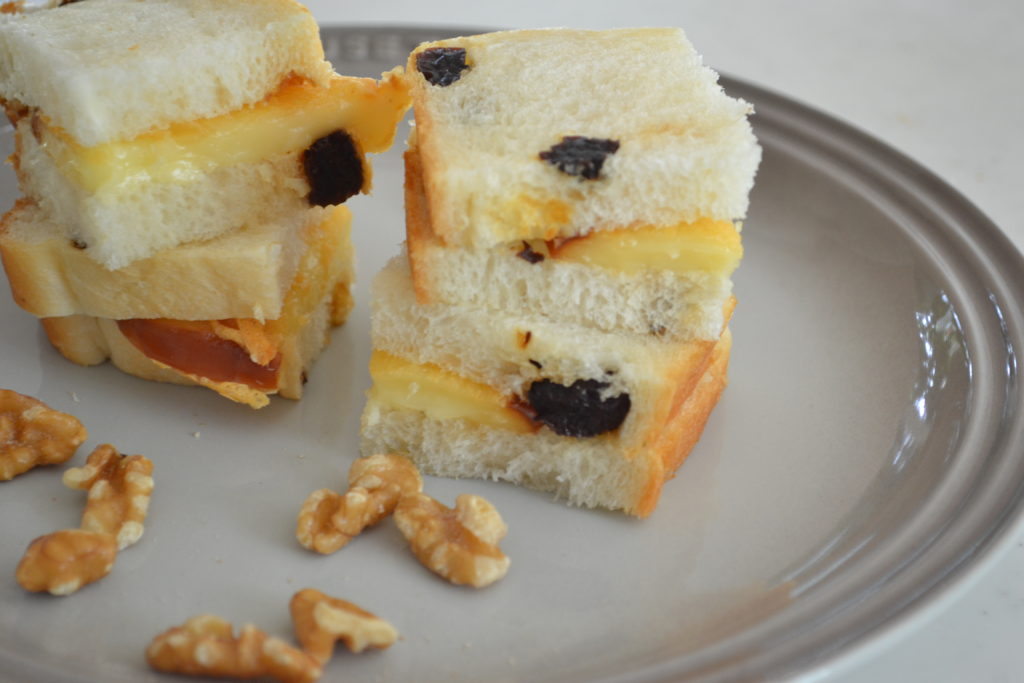
Any kind of cheese makes a great cheese sandwich with this bread, but I have a good one today.
Cheese for grilling!
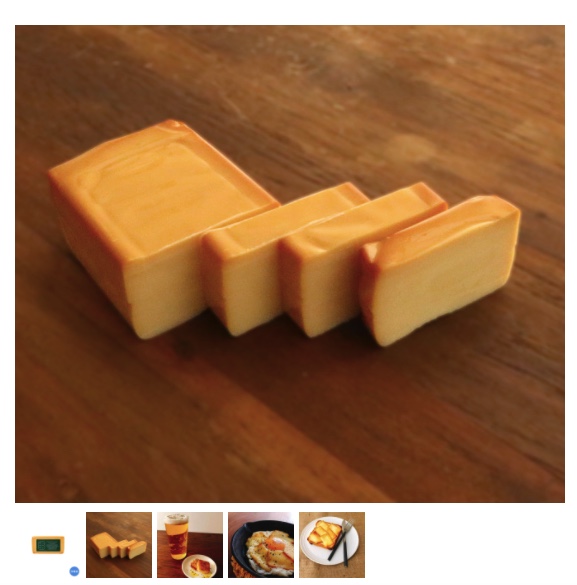
This is a gift from my editor of my first book. It’s a natural cheese for longer fermentation, and smoked. Never taste like before!
Give it a try with your favorite brand.
Toast
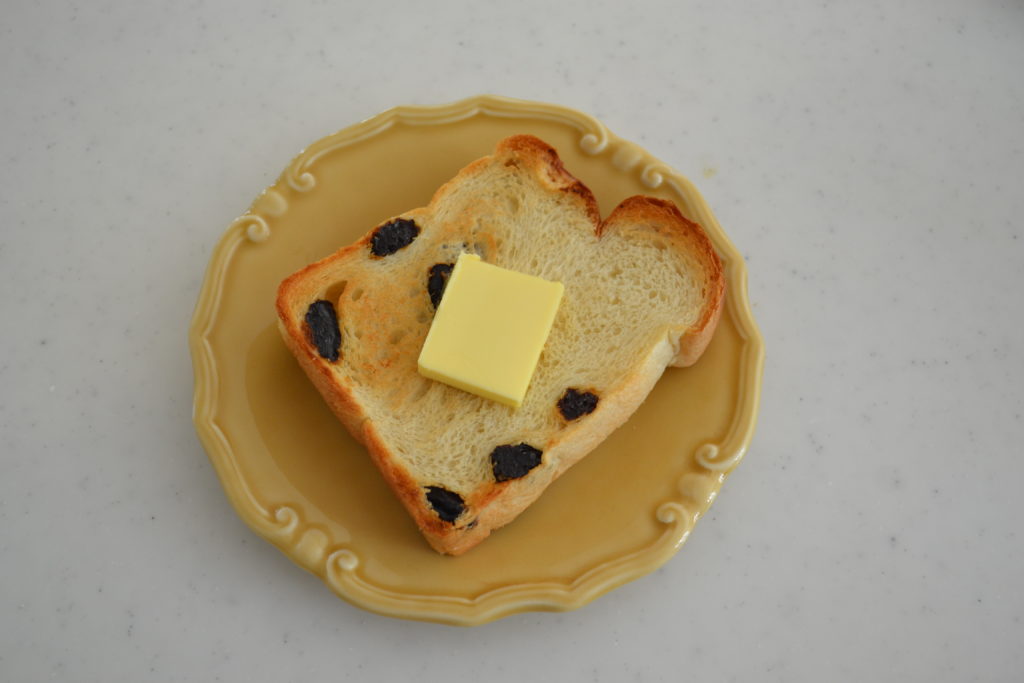
And, don’t forget the toast!
I love applying extra butter on top for the raisin Shokupan.
Melting with the heat and absorb deep into the center. Heavenly good!
What do you think about homemade bread?
The biggest reason I love homemade Shokupan is, containing no additives and any suspicious agent, but mostly, tastes wonderful.
Store-bought Shokupan is too light to eat for me, and there is no satisfaction.
Let me know your thoughts on homemade bread!
Give it a try and let me know how you like it!
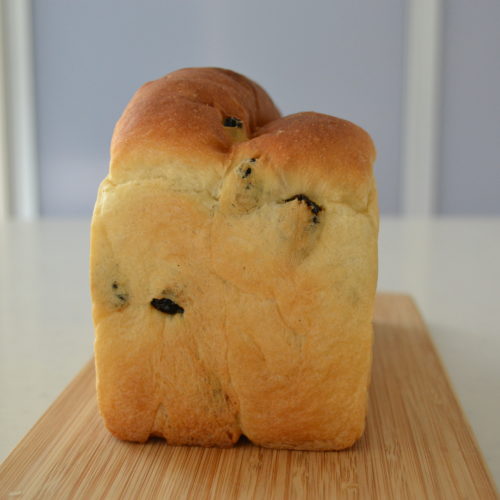
Raisin Shokupan
Equipment
- stand mixer, bowl, oven, mold(180×100×105)
Ingredients
- 250 g bread flour
- 20 g sugar
- 5 g salt
- 3 g instant dry yeast
- 25 g butter
- 210 ml whole milk
- 80 g raisin
Instructions
Preparation
- 〈raisin〉Take off any stem if remaining.Put in a bowl, pour over boiling water to rehydrate just outside, and remove the oil if coated.Leave it 10 seconds, then drain.Pat dry and let it sit until used.※If you add raisin as is, it will absorb the moisture in the dough, and end up with dry bread.
Kneading the dough (180×100×105 mold)
- In a stand mixer bowl, put in the bread flour, salt and sugar, mix until well combined.Add in yeast and keep the mixer running.Add in milk in a slow and steady stream.※The milk should be at room temperature to be on the proper baking process.If you take out milk just before kneading, you can warm it up in the microwave 20 to 30 sec. on 600w. Keep in mind not too warm.When you stick your finger into the milk, if you feel nothing or feel slightly warm, that's good to use.〈mold〉Grease the mold with vegetable oil or oil spray.
- Run the mixer for 7 to 8 minutes, then add in room temperature butter.※The dough still sticks to the side of the bowl, but no need to worry.In most cases, after 7 to 8 minutes of mixing, gluten has developed already. It will turn out a great bread!
- Knead 3 mins until the butter is mixed. Add raisin.Mix until just evenly incorporated.
Bulk fermentation (=The first fermentation/ the first rise)
- Transfer to a greased bowl with a wet spatula.Shape into a ball with tension on the surface.Handle the dough with a wet spatula or a damp hand to makes it easier.
- Cover with plastic and let it rise at a warm spot(30℃) for 45 minutes.※if the temperature is lower than 30℃, it might take longer.
Punch and the Second fermentation
- After 45 mins, the dough rises double in volume, now, punch down the dough.What this does is providing the dough with fresh oxygen and activate the yeast.Cover and let it rise for another 30 mins.If the dough rise again in double i volume, give it a finger test.Poke the dough with your dusted finger, and the hall stays as it is; its good to go.
Dividing and Bench time
- Take out the dough onto your dusted working surface with your dusted hand.Keep in mind, use a minimum flour to handle. Divide into two, and shape into balls. I recommend using a scale. Cover and take 10 minutes Bench rest.※While the Bench rest, the dough relax, and you can shape the dough easily.
Shaping
- Today, I'm going to shape into double mountains.Roll out the dough into 20 by 15 cm (8 by 6 inches) rectangle. (Or as wide as your pan)Roll it up, tucking the dough toward you, and give tension on the surface. Pinch to seal the end.Repeat the process.Put in the dough in the mold and gently tap the surface to even the level.
Final proofing
- Cover and let it rise at warm spot (30 ℃) up to 1 to 2 cm over the edge.It's going to take 40 to 50 mins.Mealwhile, preheat the oven or 100 ℃.
Baking (Cold Start)
- Pop the mold into 100℃ oven, and then immediately reset the temperature to 200℃.Bake 40 mins from start to finish, no matter what the temperature is.If the bread start browning, cover with aluminum foil."Cold start" is a baking method start baking from the lower temperature to expand as high as possible and cook through.Shokupan is a large volume bread, it might not cooked through if start baking on high heat.
Cool down
- Take out from the oven, and tap the mold onto the working surface to remove the hot air inside.Take out from the mold onto the wire lack. Slice cold the next day.Keep in the freezer for up to a month.
