Turn RICE into BREAD | Blender Rice Bread without a high-speed blender | Rice Shokupan from regular rice
I am going to show you how to make The Best Gluten-free Bread
Today I’m going to be making Rice Bread from Rice.
Yes, you heard me right, rice that we eat every day.
I have made rice bread from rice flour before, but today I use rice grain to make delicious bread.
I have seen other videos by Emmy made and chef steps; they use a high-speed blender which I don’t have, so it’s a little bit intimidating to try, but I did it with my regular blender.
It turned out GREAT after several trials.
And there is a trick to baking perfectly cooked rice bread because the rice batter takes more time to cook than wheat bread.
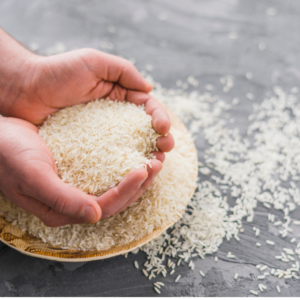
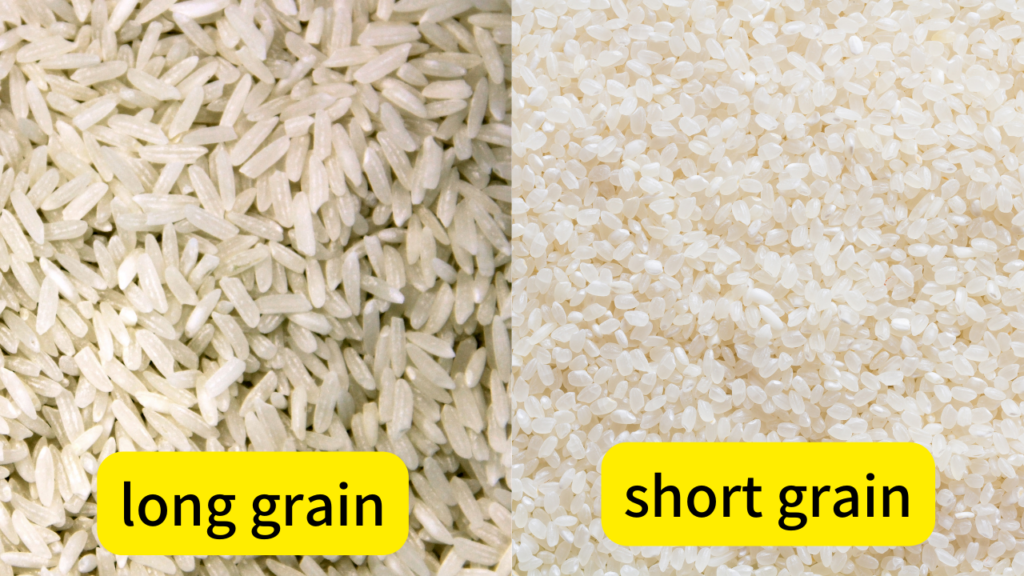
What kind of rice do we use?
I use Japanese short-grain rice, but long-grain rice can be used, as you could be seen in other videos.
Wash rice and soak it in water for 2 hours to overnight. Overnight for the best result.
Rice should turn white after absorbing water.
This is a very easy and simple recipe, and this is a crucial part.
Soak overnight so the rice can be pulverized, even using a standard blender.
How far are we going to blend the batter?
Put all the ingredients in the blender and blend for 1 minute, and take a look at the batter.
Let’s see the batter after two minutes of blending.

The right-hand side batter is smooth and sticky.
That is the batter you are looking for!
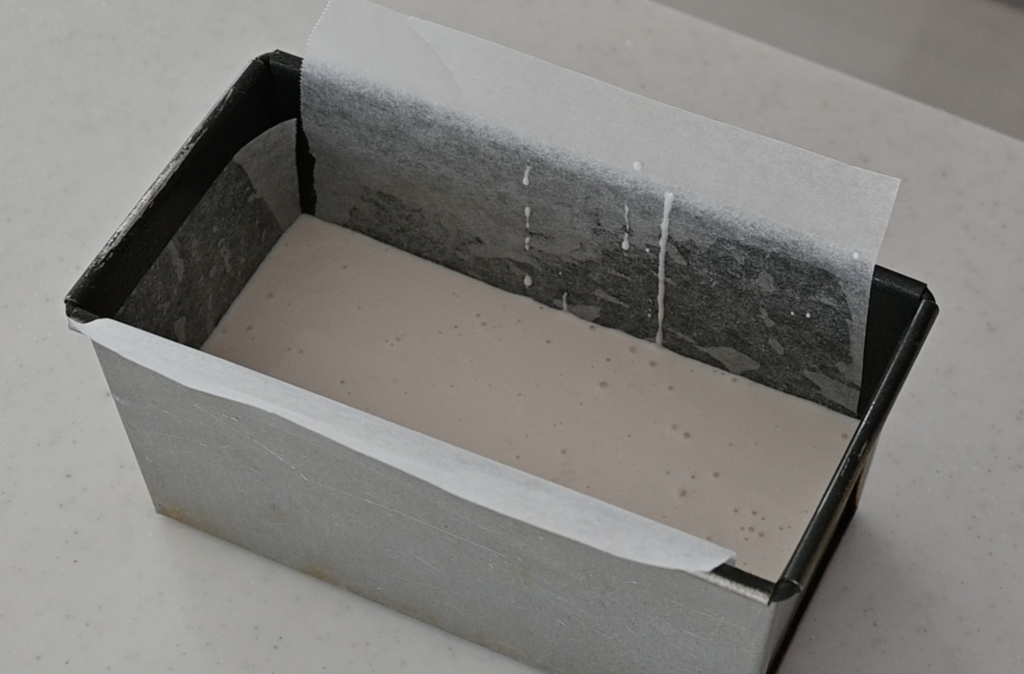
Pour the batter into a parchment-lined loaf pan.
The batter should be filled in 1/3 of the height.
It’s easy to dry out, so spray water to add extra moisture.
Fermentation
Because the rice particles are heavier than wheat, and rice doesn’t have gluten, I figure a little over-fermented stage makes it fluffy bread!
Cover with plastic and let it rise in a warm place.
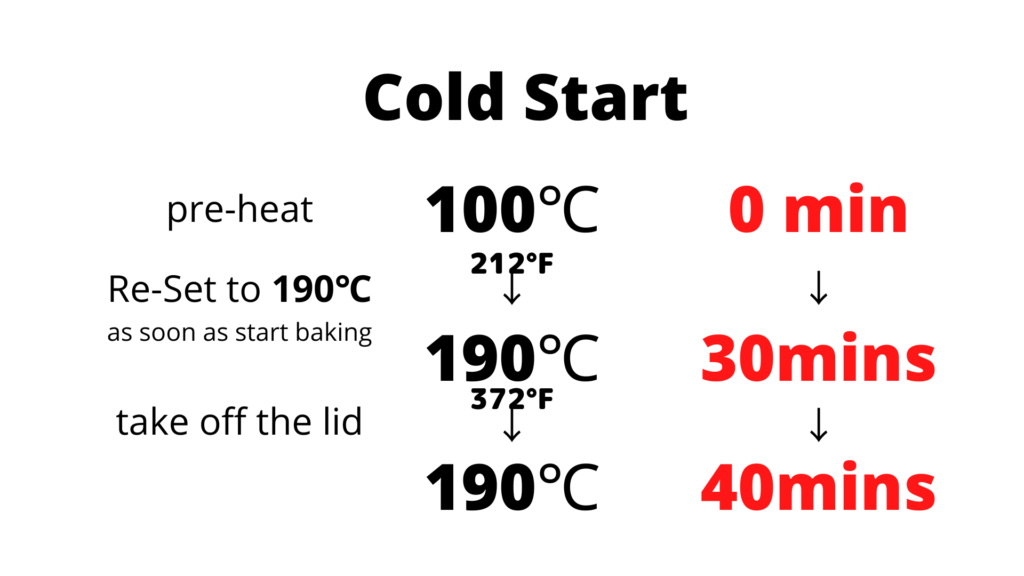
Start pre-heat the oven for 100℃ (212℉) at this point.
It’s been 30 mins and has risen about double in volume.
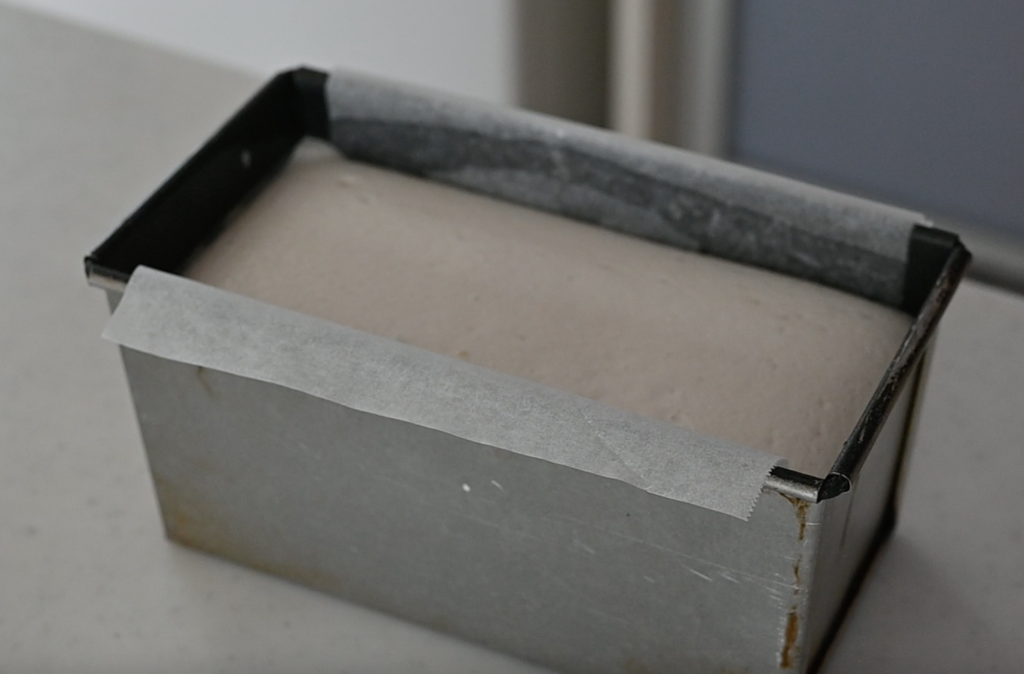
Your Rice Bread batter should look like this after 30 mins of fermentation, double in volume.
Leave 10 to 20 mins more to rise as much as this height.
Baking (Cold Start Method)
It’s a bit tricky to cook through the rice batter.
If you start baking on high heat, you only cook the outside, and it creates a crispy exterior like rice crackers, and the inside is like porridge.
To avoid this and cook through the batter, I am going to take the “Cold-Method.”
Place parchment paper on top and cover the lid.
Or, if your loaf pan doesn’t have a lid, use a heavy baking tray or casserole instead.
Put it in 100℃ (212℉) oven,
and then immediately reset the oven to 190℃(374℉.)
Bake for 30 mins.
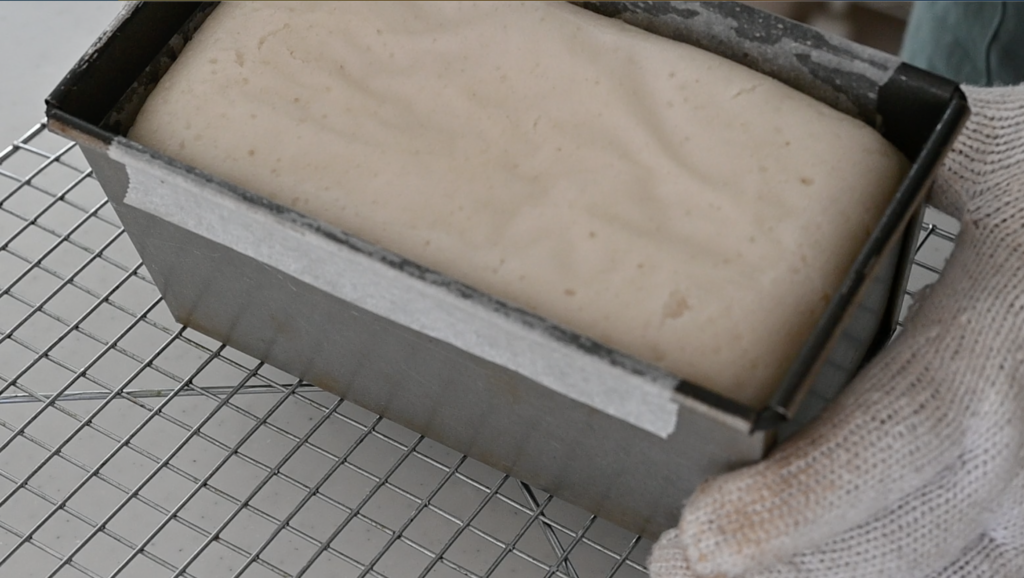
Take off the lid and cook another 10 mins or until the surface is golden brown.
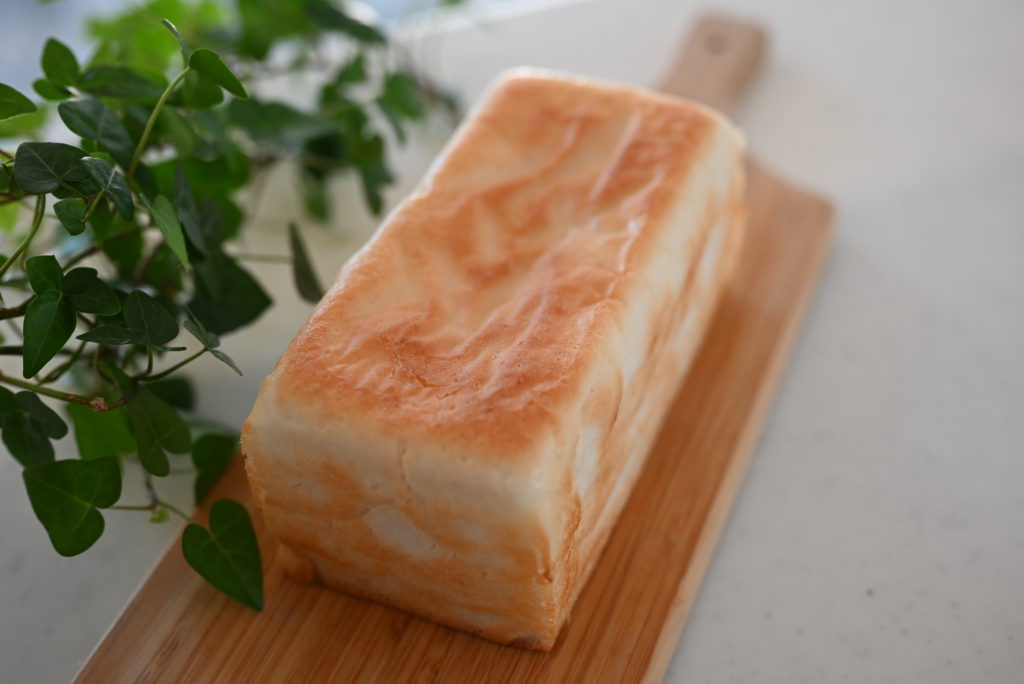
Take out onto the wire rack to release the steam.
I love the bread baking smells in the air, and it feels so good.
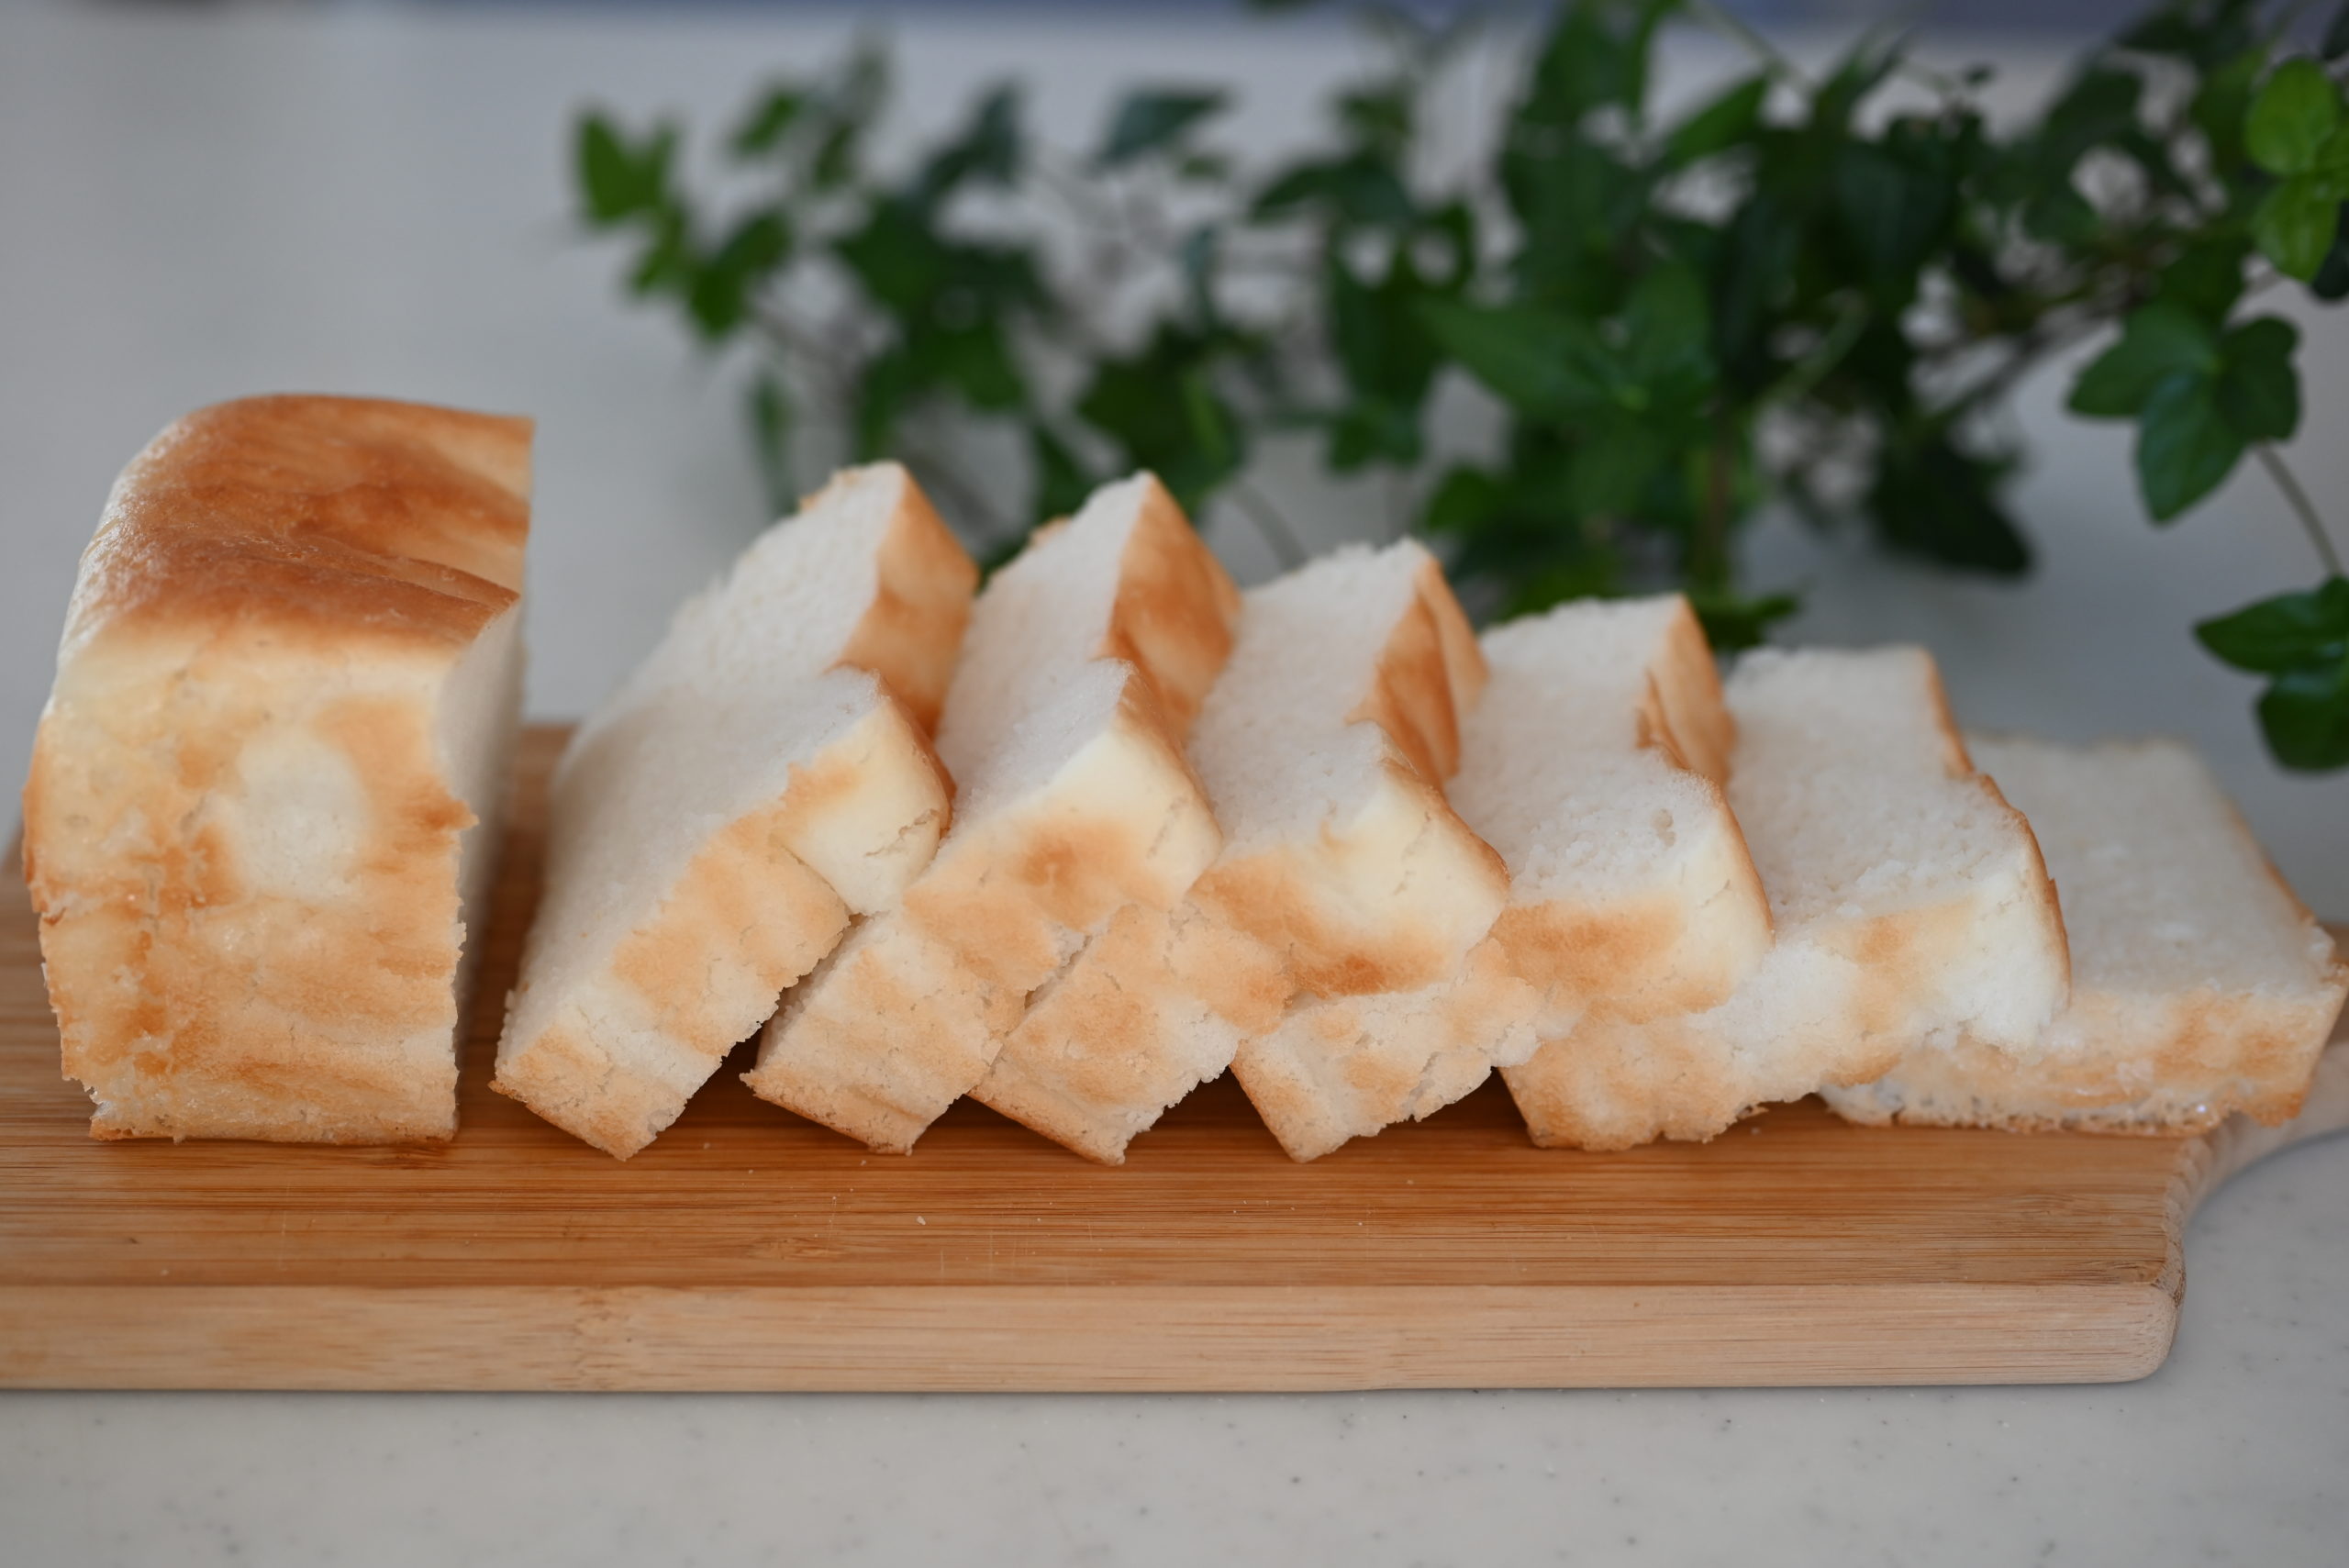
Let it cool to room temperature for an hour to 2 hours before cutting.
It’s not good to slice still hot because the crumb still needs to be set and sticks to the knife.
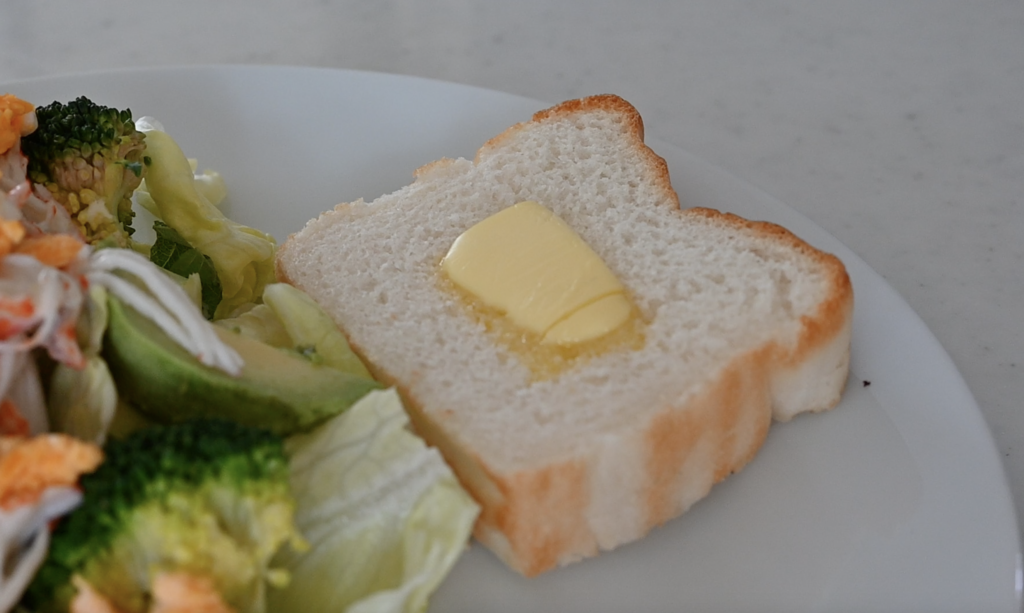
It’s so moist compared to the wheat bread, fluffy but dense i
n a way, and has a melt-in-your-mouth texture.
I love to have it toasted. So good!
Enjoy The Best Ever Gluten-free Bread!
Ingredients
Equipment
Method
- Wash rice and soak in water for at least 2 hours. Overnight, for the best result.
- Drain well. Really well. If you leave water, the ratio will callaspe and your bread will end up flat or shrink.
- Add rice, sugar, salt and water in the blender, blend 1 minute.
- Add the oil and blend 1 minute.
- Add yeast, blend 1 minute.
- Pour into the parchment lined mold, spray water on the surface.Leave it at warm place for about 30 mins, until almost double in volume.
- Pop in the 190℃(374°F) oven for 35 mins.
- Take out, cool on the wire rack until comes to room temp. Slice and serve!