
Turn Brown RICE into BREAD | Blender Rice Bread without a high-speed blender | Rice Shokupan from brown rice
Can we make Bread out of Brown Rice?
Turning brown rice into bread using a blender is a bit more challenging than making bread with regular white rice.
It took me a while to make a perfect bread-shaped bread, I failed so many times, but by adding a secret ingredient, it turned out great!
Because brown rice has the bran and doesn’t have the same texture as white rice. However, we can still make dense and rich bread.
Use Short-grain Rice
I use Japanese short-grain rice. I recommend using short-grain or medium-grain rice for the best result.
You can use long-grain rice, but the result is different.
Because Japanese Short-grain rice is more vicious than short-grain rice.
It’s almost the same texture as the rice when you cook it.

The Secret Ingredient
Baking powder is the secret ingredient.
This idea came up my mind when I think of the Pork Buns recipe.
It add the yeast and baking powder at the same time to create fluffy but dense texture.
Before realizing it, I added more yeast, I was expected to rise the heavy batter but couldn’t keep its shape after baking. The structure of the batter couldn’t hold the gas.
I went through several ratios of the yeast, but it didn’t work, and the surface sank, and it didn’t seem to be a good loaf of bread.

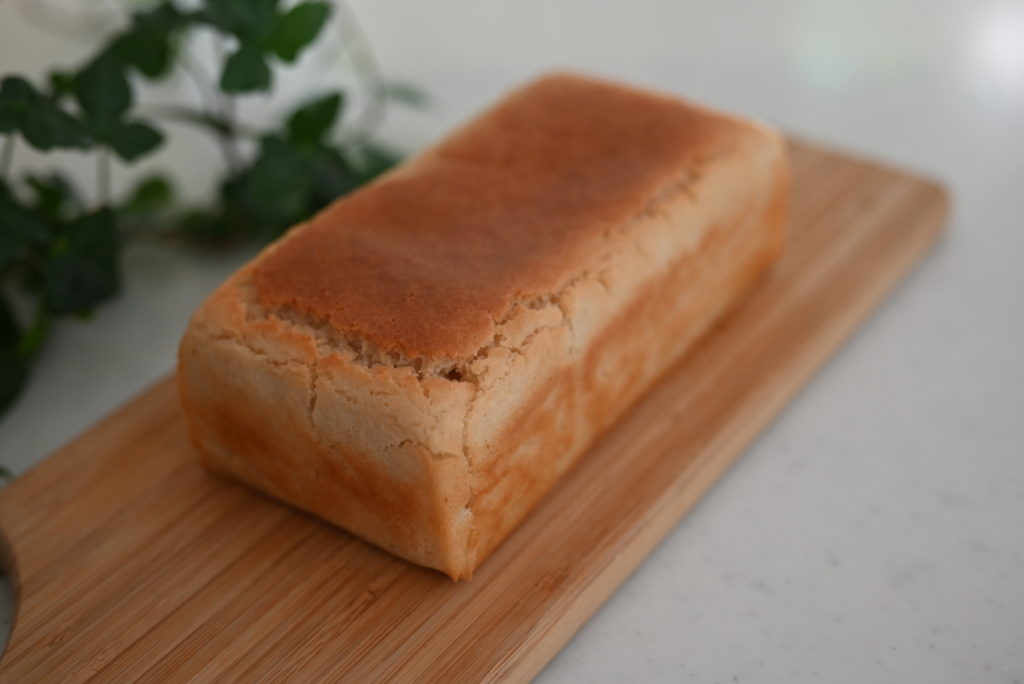
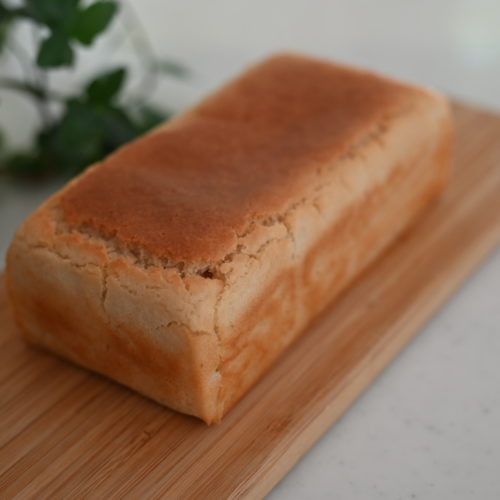
After adding a tiny amount of baking powder, it looks like this!
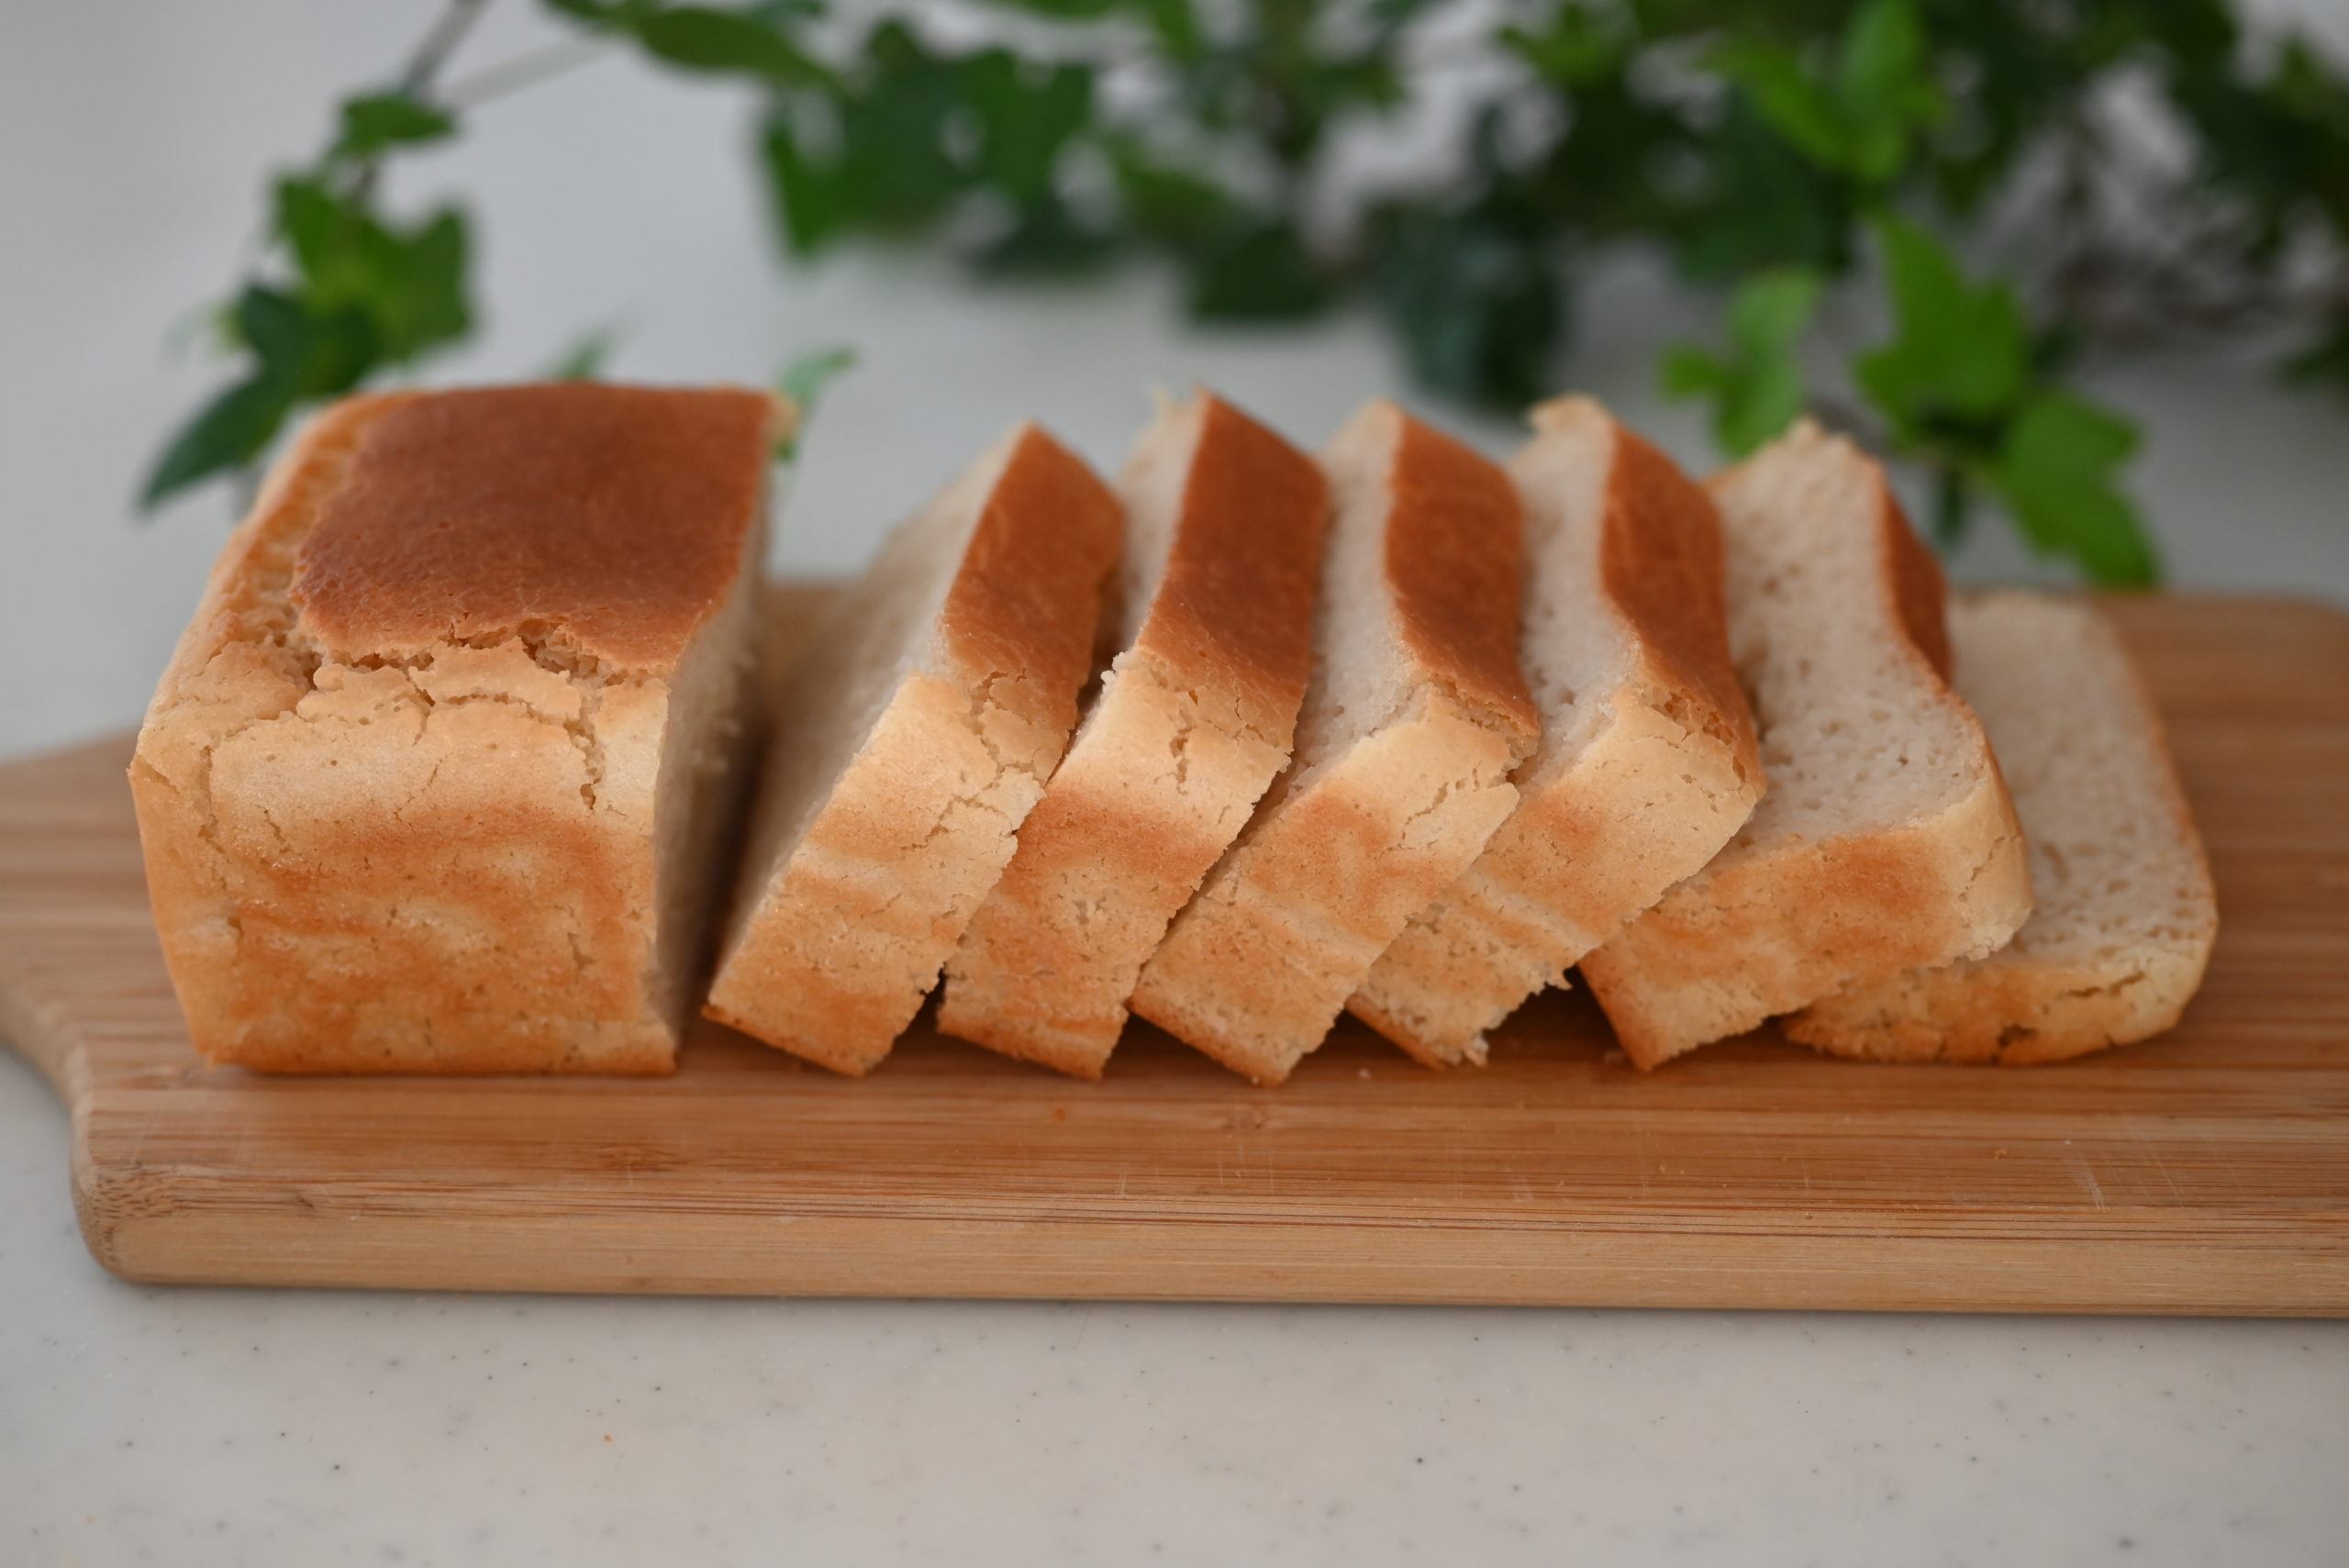
Let’s get start baking your own Brown Rice Bread!
Brown Rice Bread
Equipment
- 1 blender regular blender in your kitchen
- 1 bread loaf mold Top 95×208mm Bottom80×200mm Height 85mm
- 1 oven
Ingredients
- 260 g (1+1/3 cup) Brown Rice(short grain)
- 10 g (1 tbs) Sugar
- 4 g (1 ts) Salt
- 4 g (1 ts) Instant yeast
- 2 g (1/2 ts) Baking powder
- 25 g (2 tbs) Vegetable oil
- 130 g (1/2 cup +1 tbs) Water
Instructions
Soak the brown rice
- Start by washing and soaking the brown rice in water for at least 8 hours to overnight.Because the bran is hard, so soak in water for long hours to soften it.You'd better put it in the fridge in summer to avoid going bad.
- Rice should look pumping up after absorbing water.This is a very easy and simple recipe, and this is a crucial part.Soak overnight so the rice can easily be pulverized, even using a standard blender.
Blending
- Drain well and transfer to a blender, along with salt and sugar.Pour water at room temperature.Because we are using a blender and working on brown rice, it takes longer blending time than white rice, so the batter gets a chance to warm up, so the temperature should not be high.
- After 1 minute of blending, scrape down the side and blend one more minute.※The batter should look smooth and stick to your spatula when you touch it. When you touch it, and you feel still grainy, and the batter is not sticky, you should go another 1 minute.
- Add yeast, baking powder, and oil, and start blending again.※Baking powder is the secret ingredient.
- Blend for 1 minute, and take a look at the batter.Check the batter, if is sticky, and the rice bran and grains are completely broken.
- Pour the batter into a parchment-lined loaf pan.The batter should be filled in 1/3 of the height.
Let it rise
- Cover with plastic and let it rise in a warm place.It's easy to dry out, so spray water to add extra moisture.
- ※Start preheating the oven to 190 ℃(374°F.)
- Let it rise for 20~25 mins until almost double in volume.
Baking
- Spray water to moisten the surface to rise in the oven, and Bake in the 190℃(374°F)oven for 25 to mins and then lower the temperature to 160℃(320°F) and continue baking 10 more mins.
Cooling
- Take out onto the wire rack to release the steam.
- Let it cool to room temperature for an hour to 2 hours before cutting.
- It’s not good to slice still hot because the crumb must be set unless stuck to the knife.